

Building Your Bubble
Unlike in politics and in life, living in a bubble’s not necessarily a bad thing in gardening


The hoop at the end of the rainbow.
A previous post, Life Under Plastic, detailed the advantages of creating a garden microclimate, particularly in cooler climates, for season extension, winter production, and summer yield boosts. Hoop houses, also known as high tunnels, are the means for doing this. This article gives a general overview of their construction. If you buy a kit, it will have detailed instructions. Zimmerman High Tunnels has a nifty series of videos that are useful even if you don’t buy your tunnel from them. Especially for your first house, and probably every one including your last, a kit will be way easier than designing a house yourself and gathering the components. Built around a rigid arch, or bow, these are mostly of electro-mechanical tubing (EMT), otherwise used, as the name says, for structure and electrical conduit. They are held together by readily available standard fittings, as well as various custom arrangements.
The arches can be round, for a quonset shape, or peaked, for a gothic style. A gothic shape sheds snow better if you, like me, are in a high snowfall area. If you don’t buy a kit, you’ll have to form the tubing yourself. You can make a jig for bending them by driving stakes in the ground in the shape you want.
This project began in mid-September and finished at the end of December, aided by mild fall weather. My aim was always to get it enclosed before snow and cold hit, allowing we to finish indoors. I did most of the work myself, helped by my wife, especially with the ladder work, which I’m pretty bad at. I had a few friends help with setting the arches and pulling the plastic, both of which take more than two people. Otherwise, it was me and the podcasts.
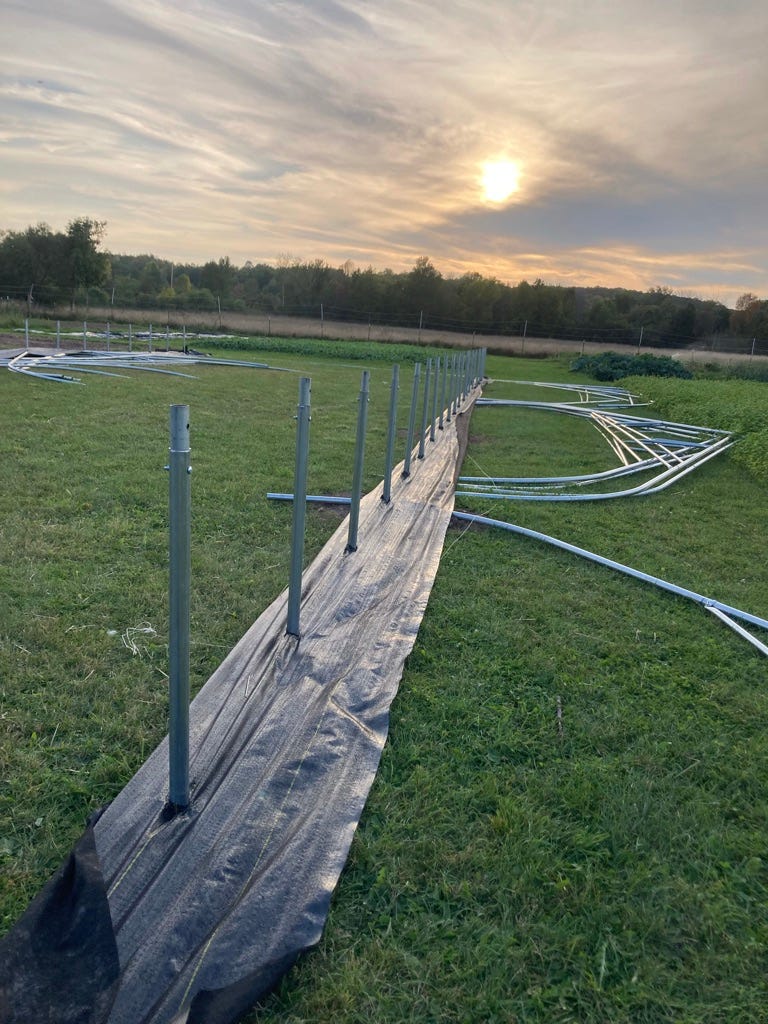
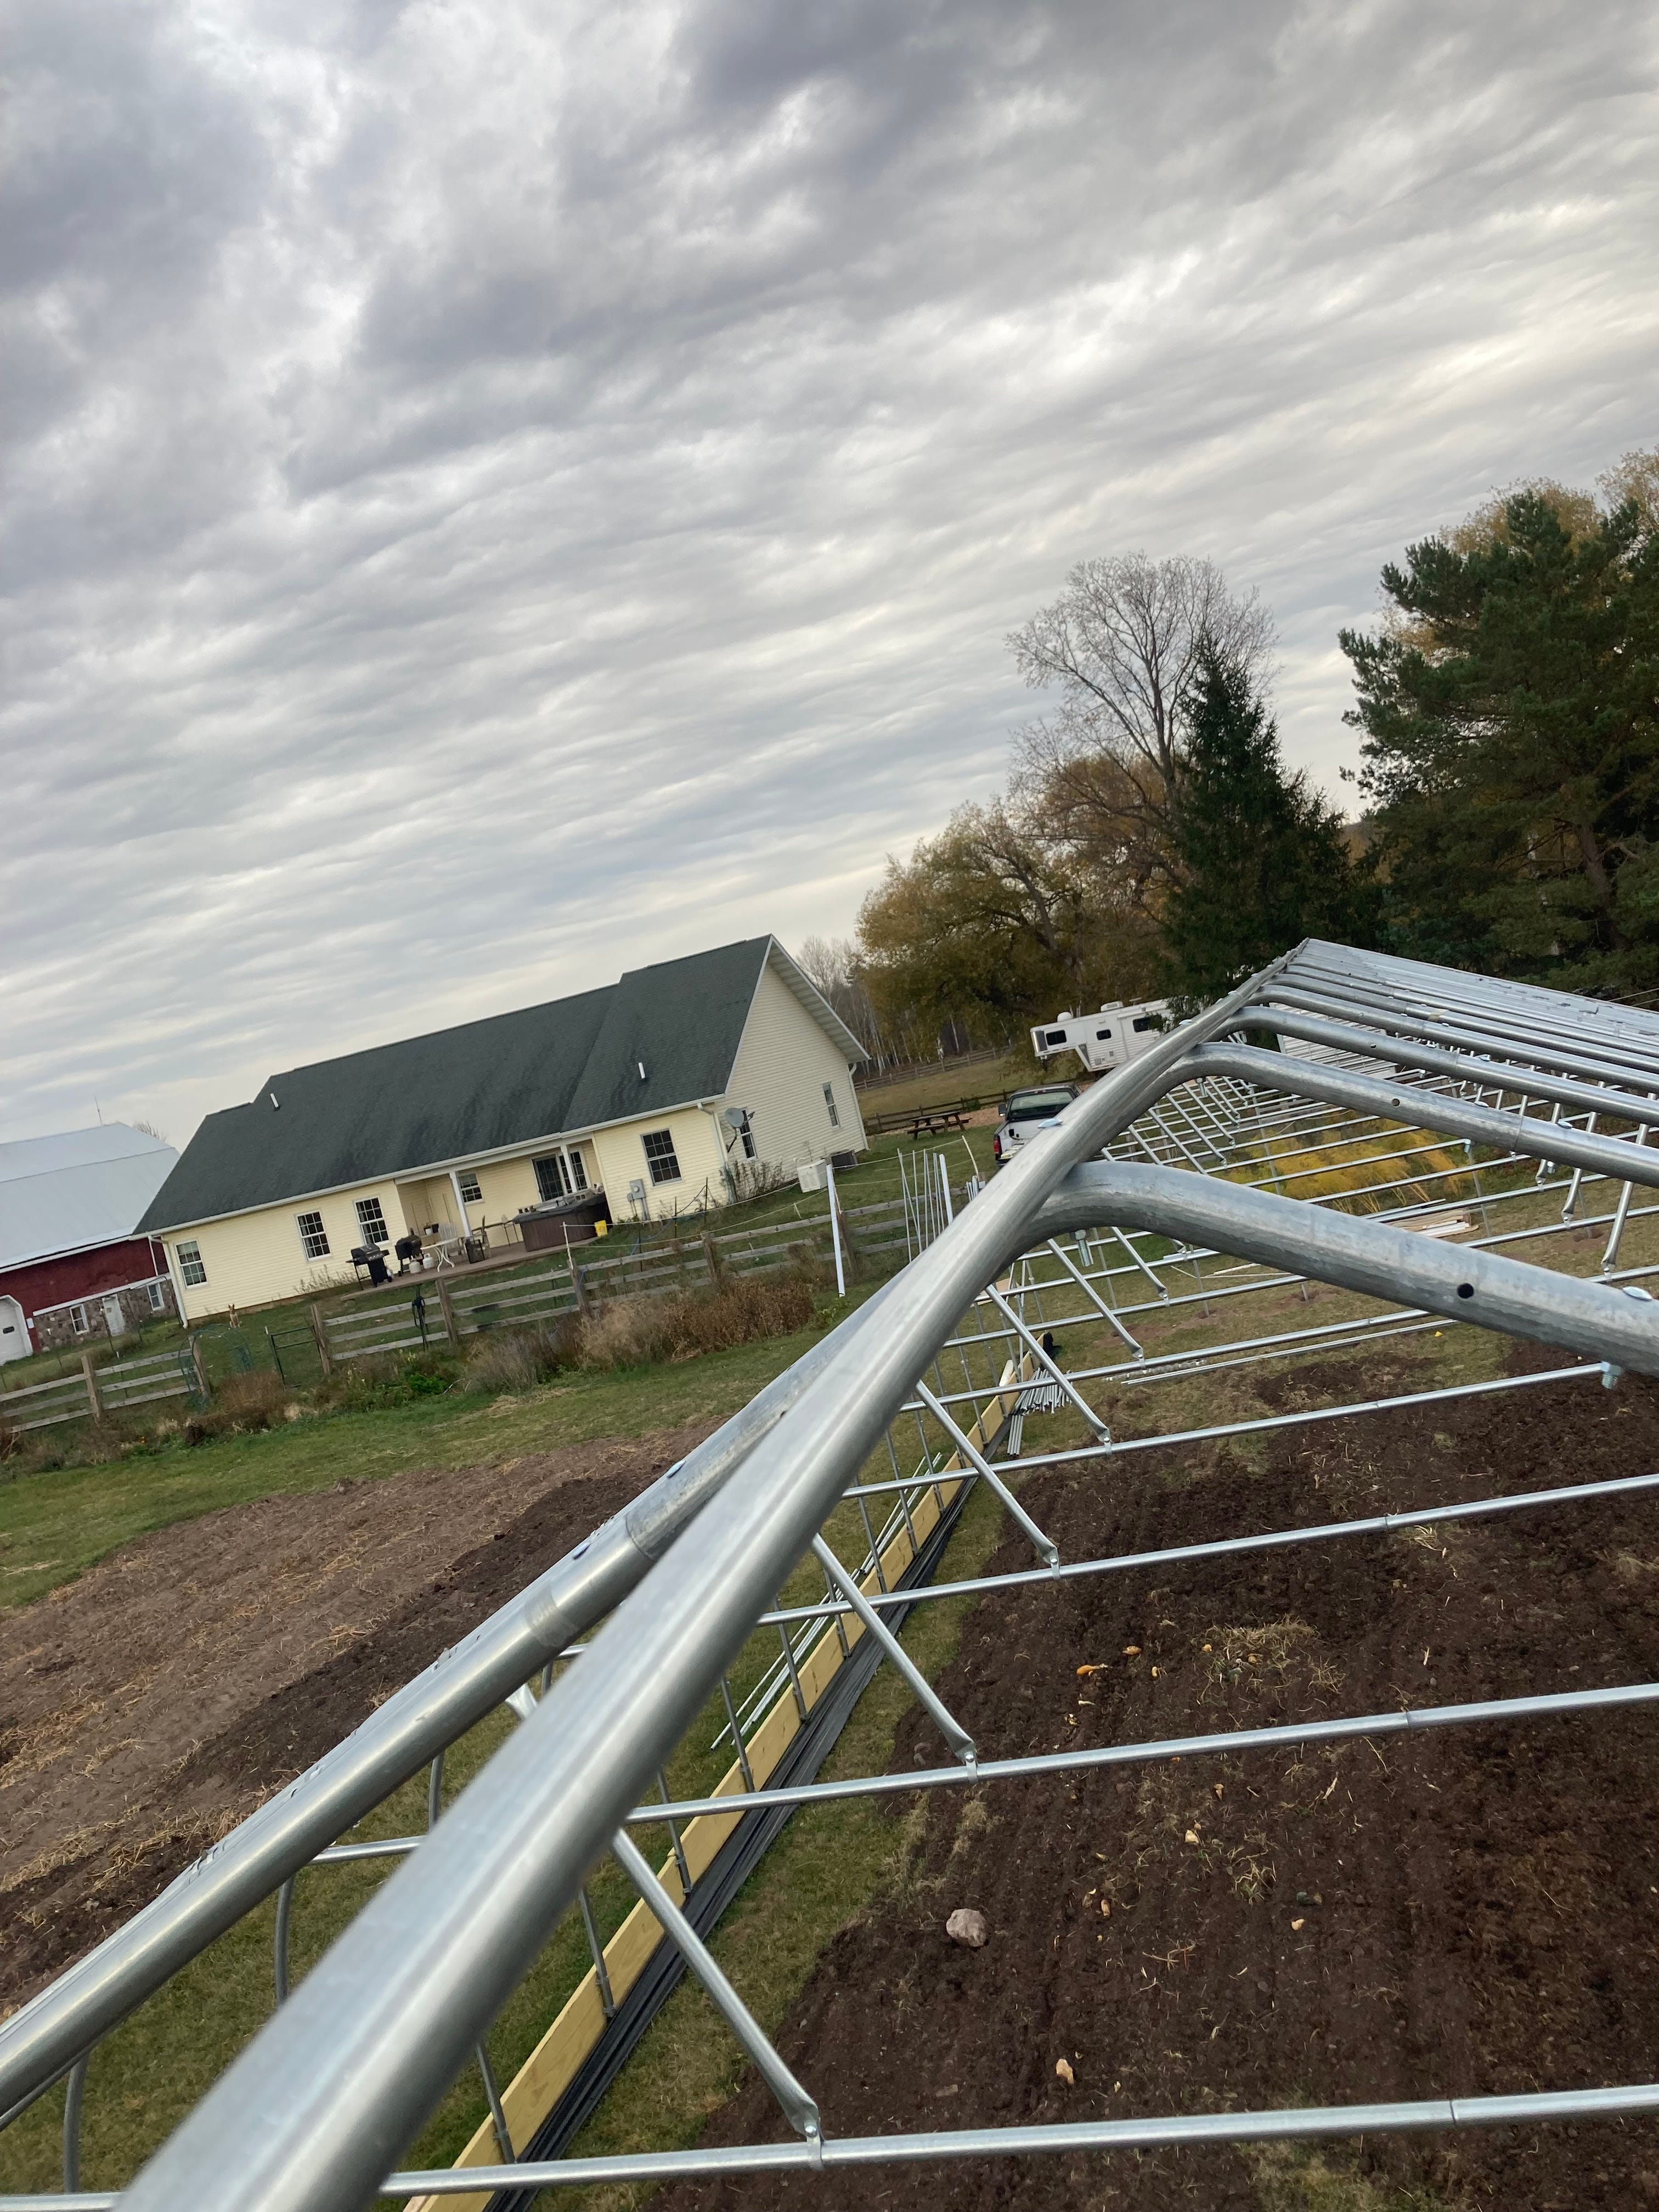
Assembled arches, ready to be placed on driven ground posts. Note the landscape fabric where the sidewalls will go.
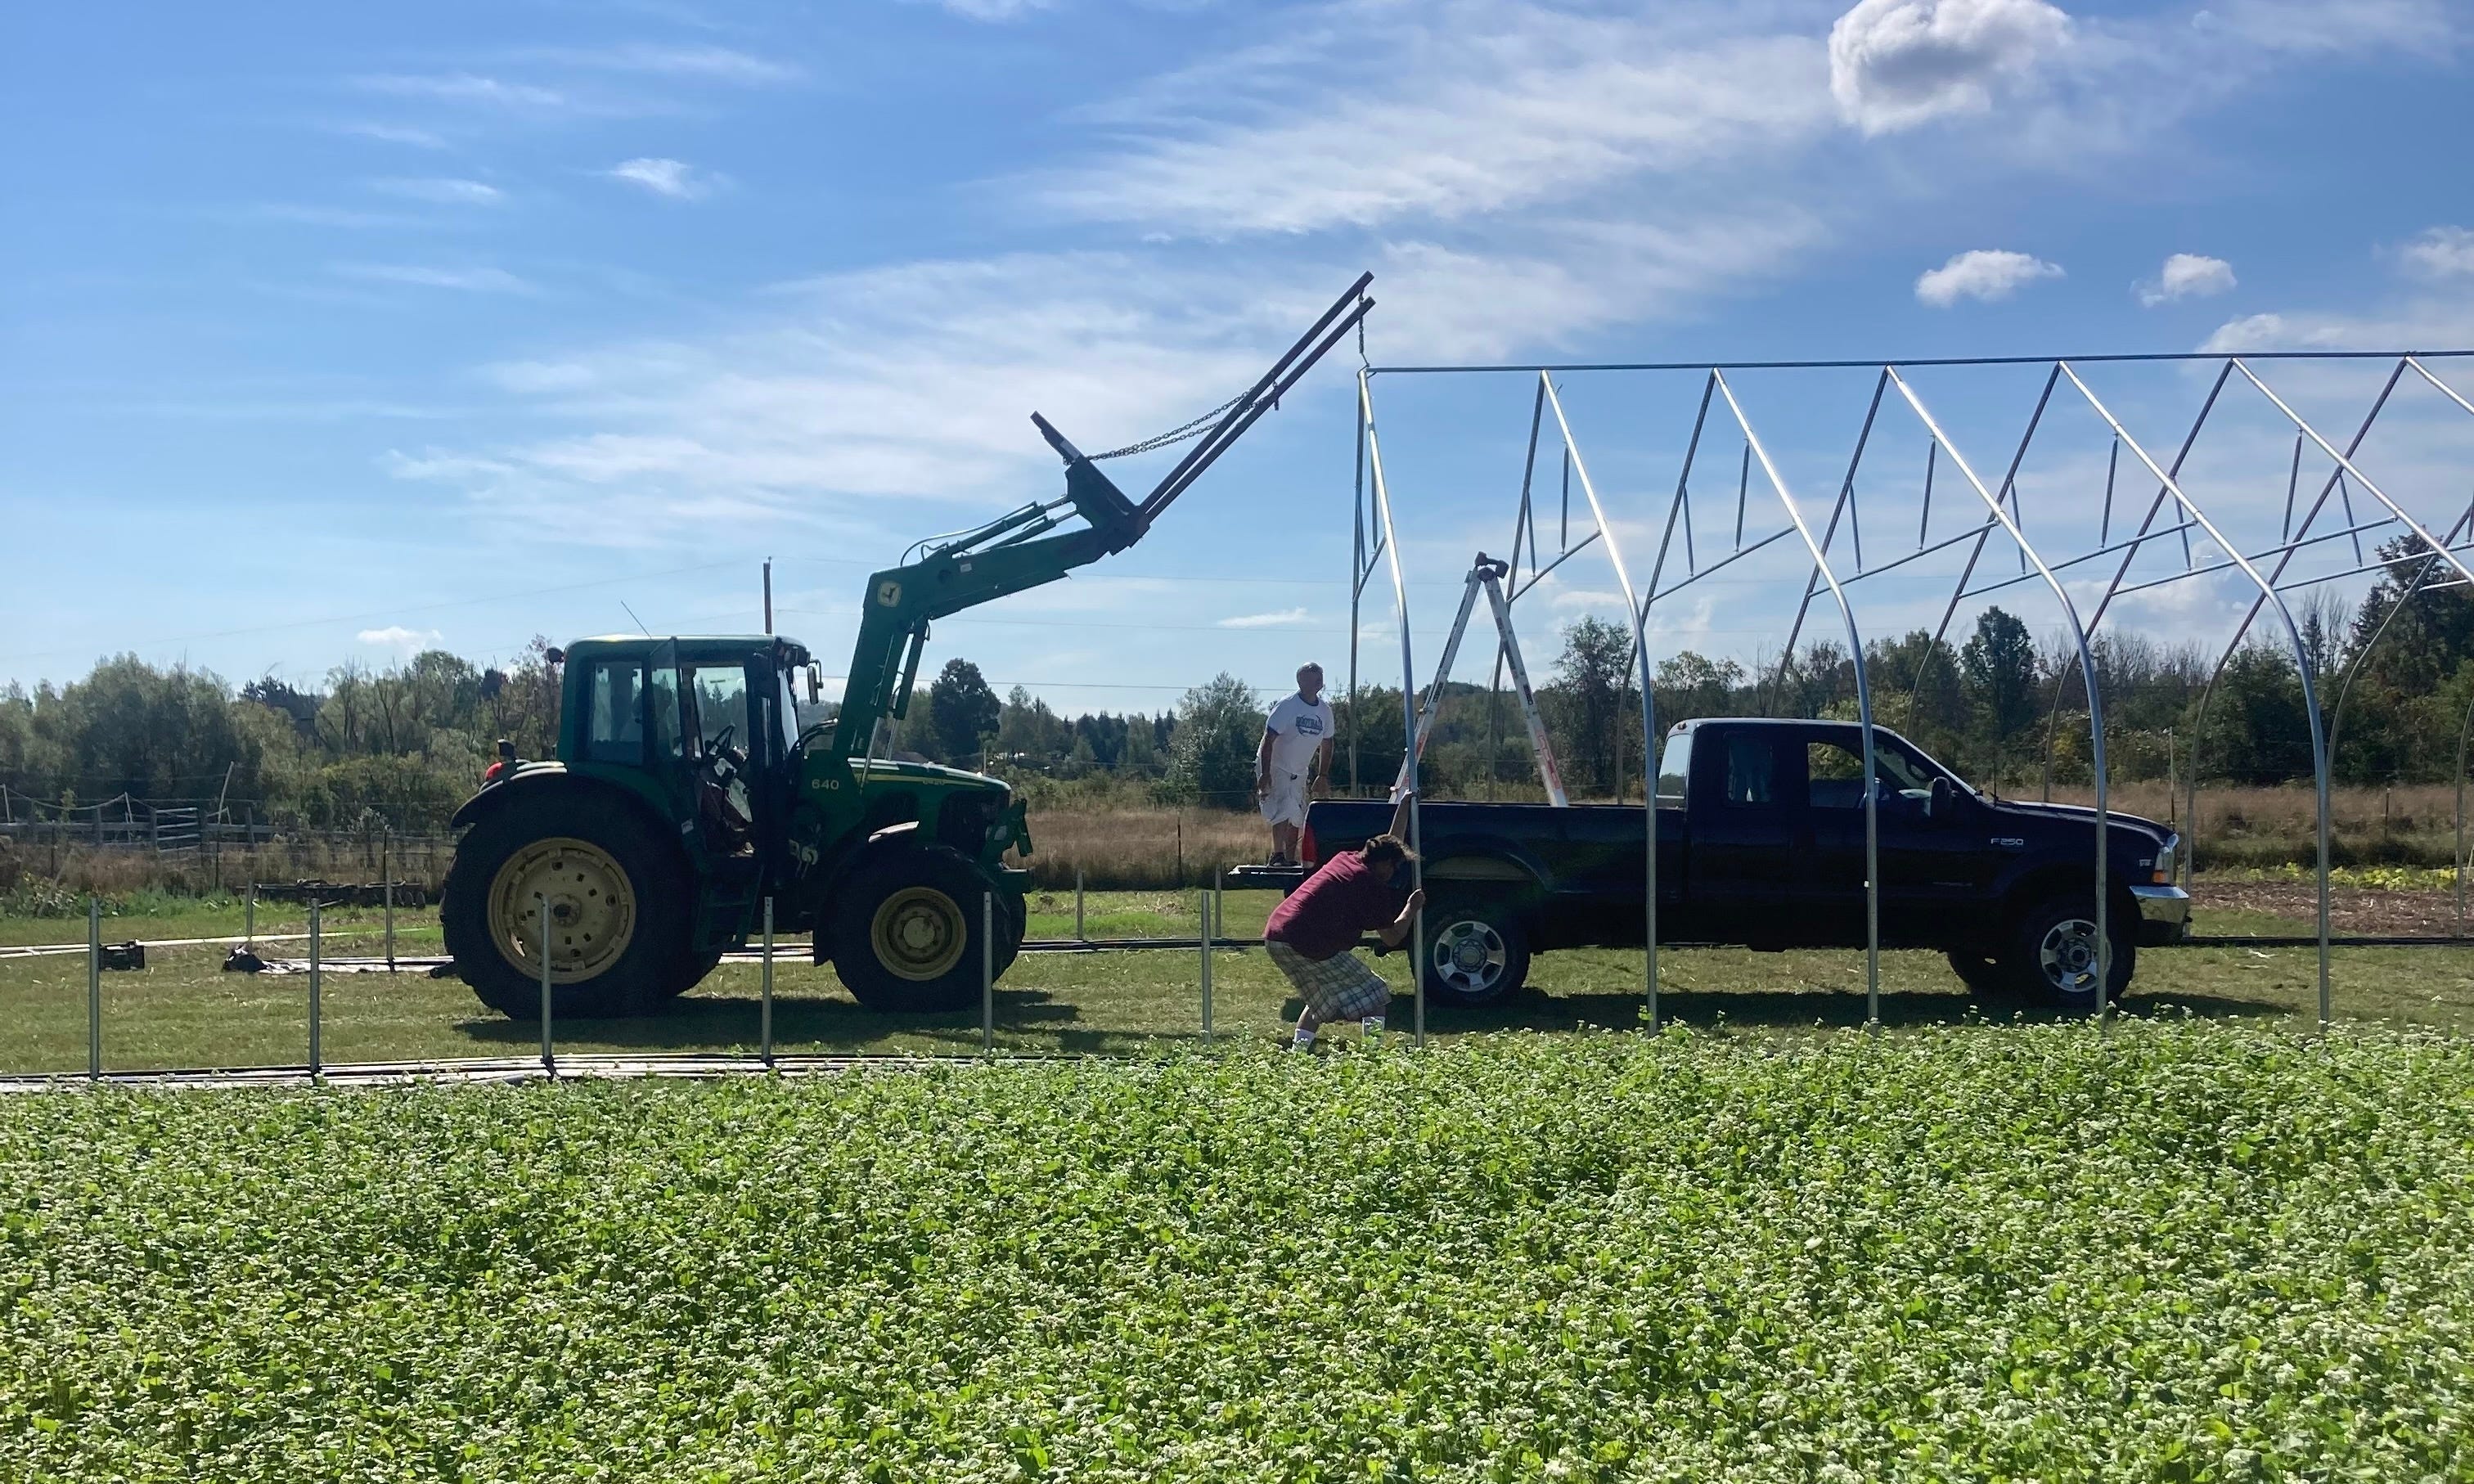
Placing the arches. You’ll need help and some kind of lift for this. These 30’ wide arches are too heavy for three guys to handle comfortably. The tractor loader required an extended boom to go high enough. Two helpers are required to guide the arch onto the post. With all that, it went quite well.
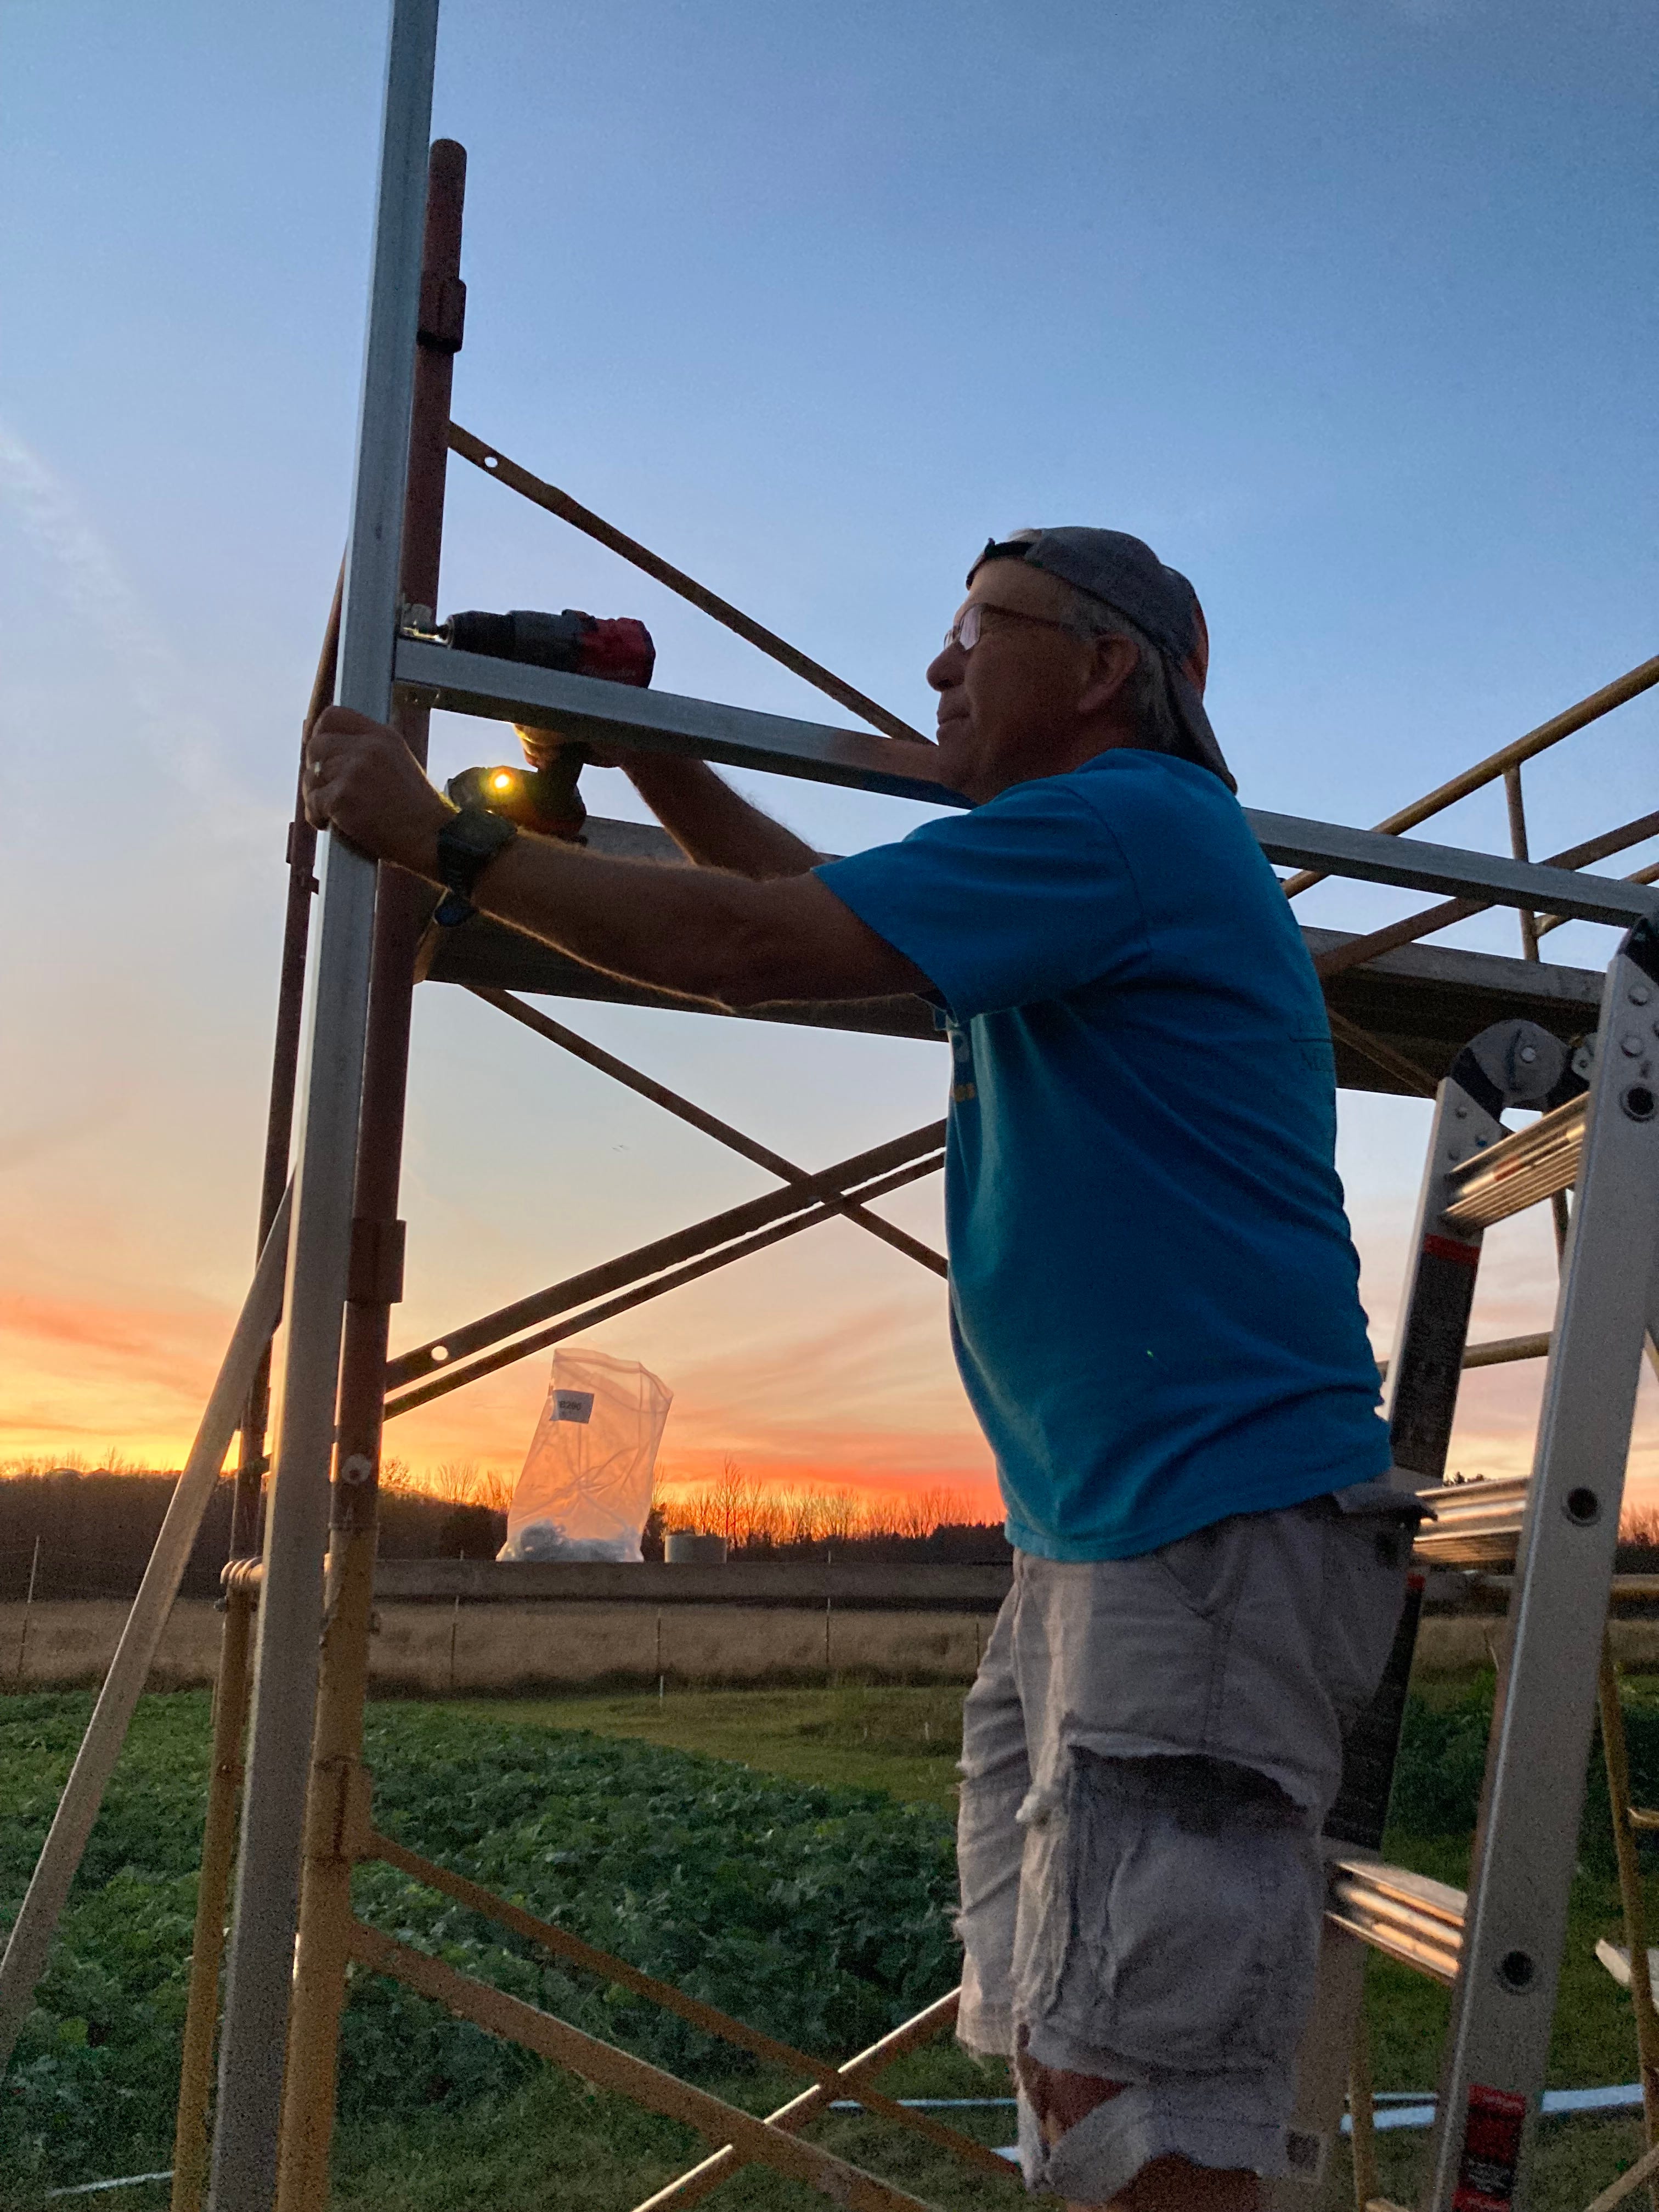
The entire thing is bolted and screwed together with self-tapping screws. There was a lot of drilling into the sunset.
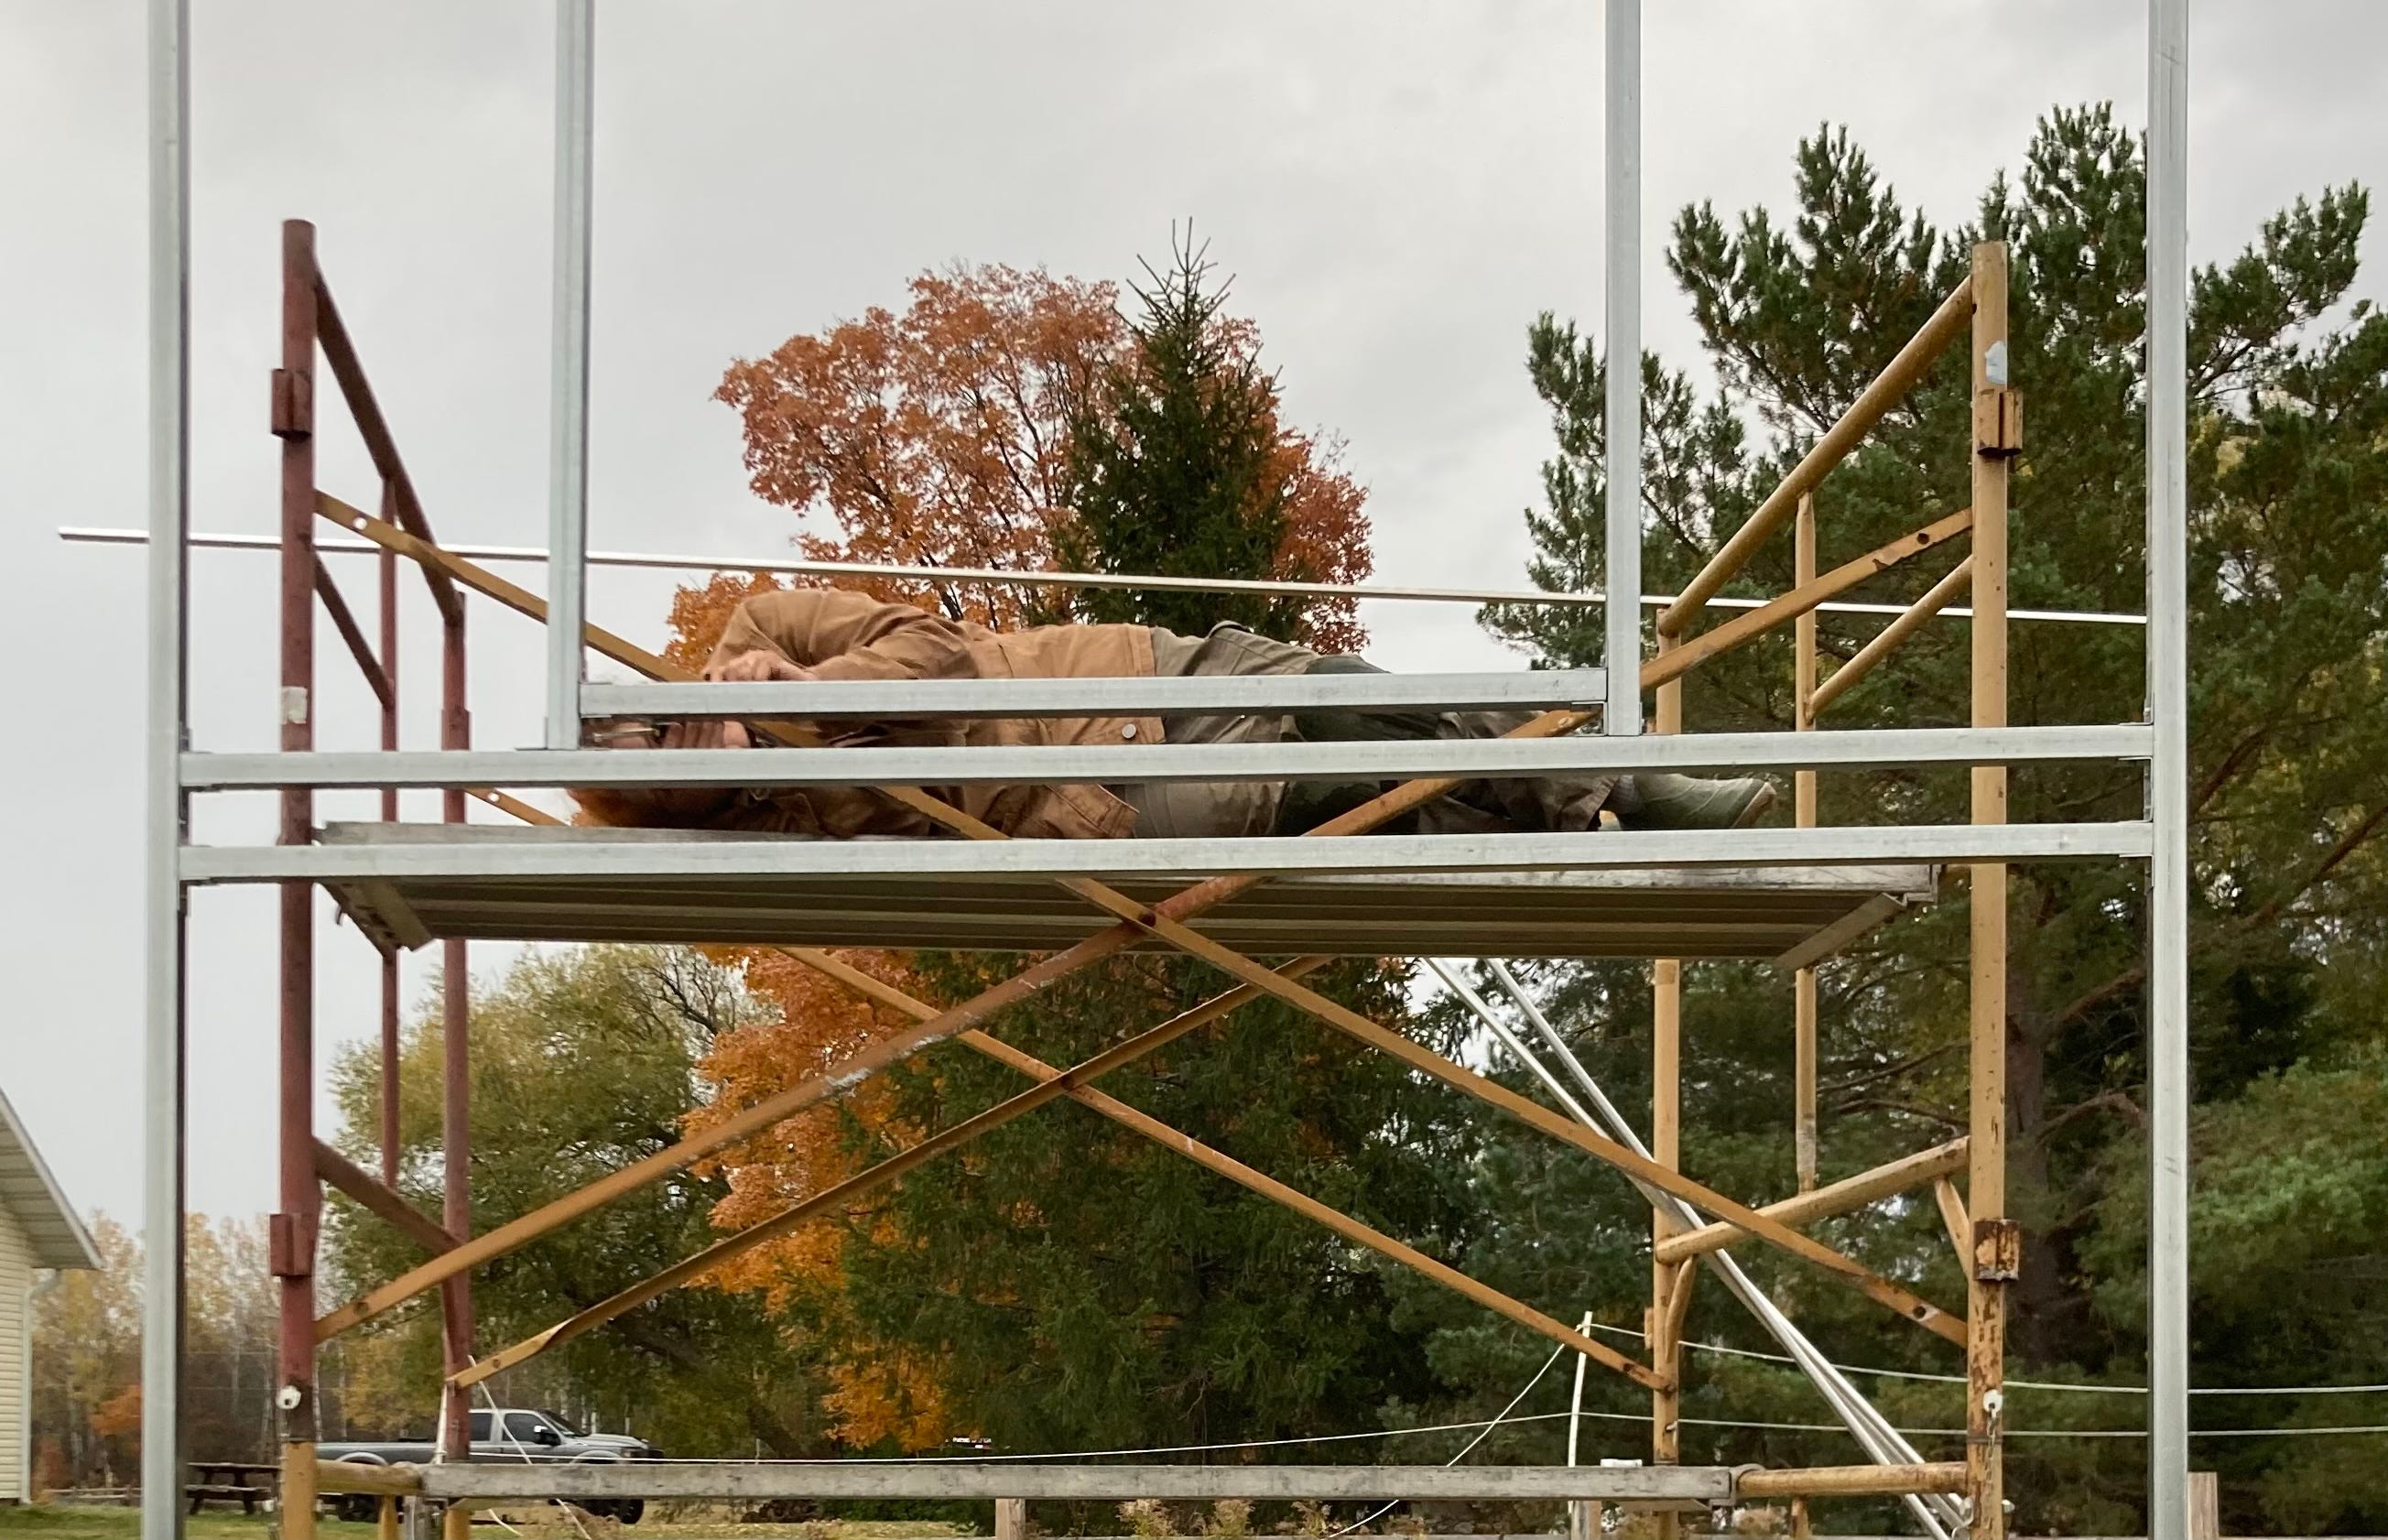
Scaffolding is really helpful, and, no, she’s not sleeping in this photo.
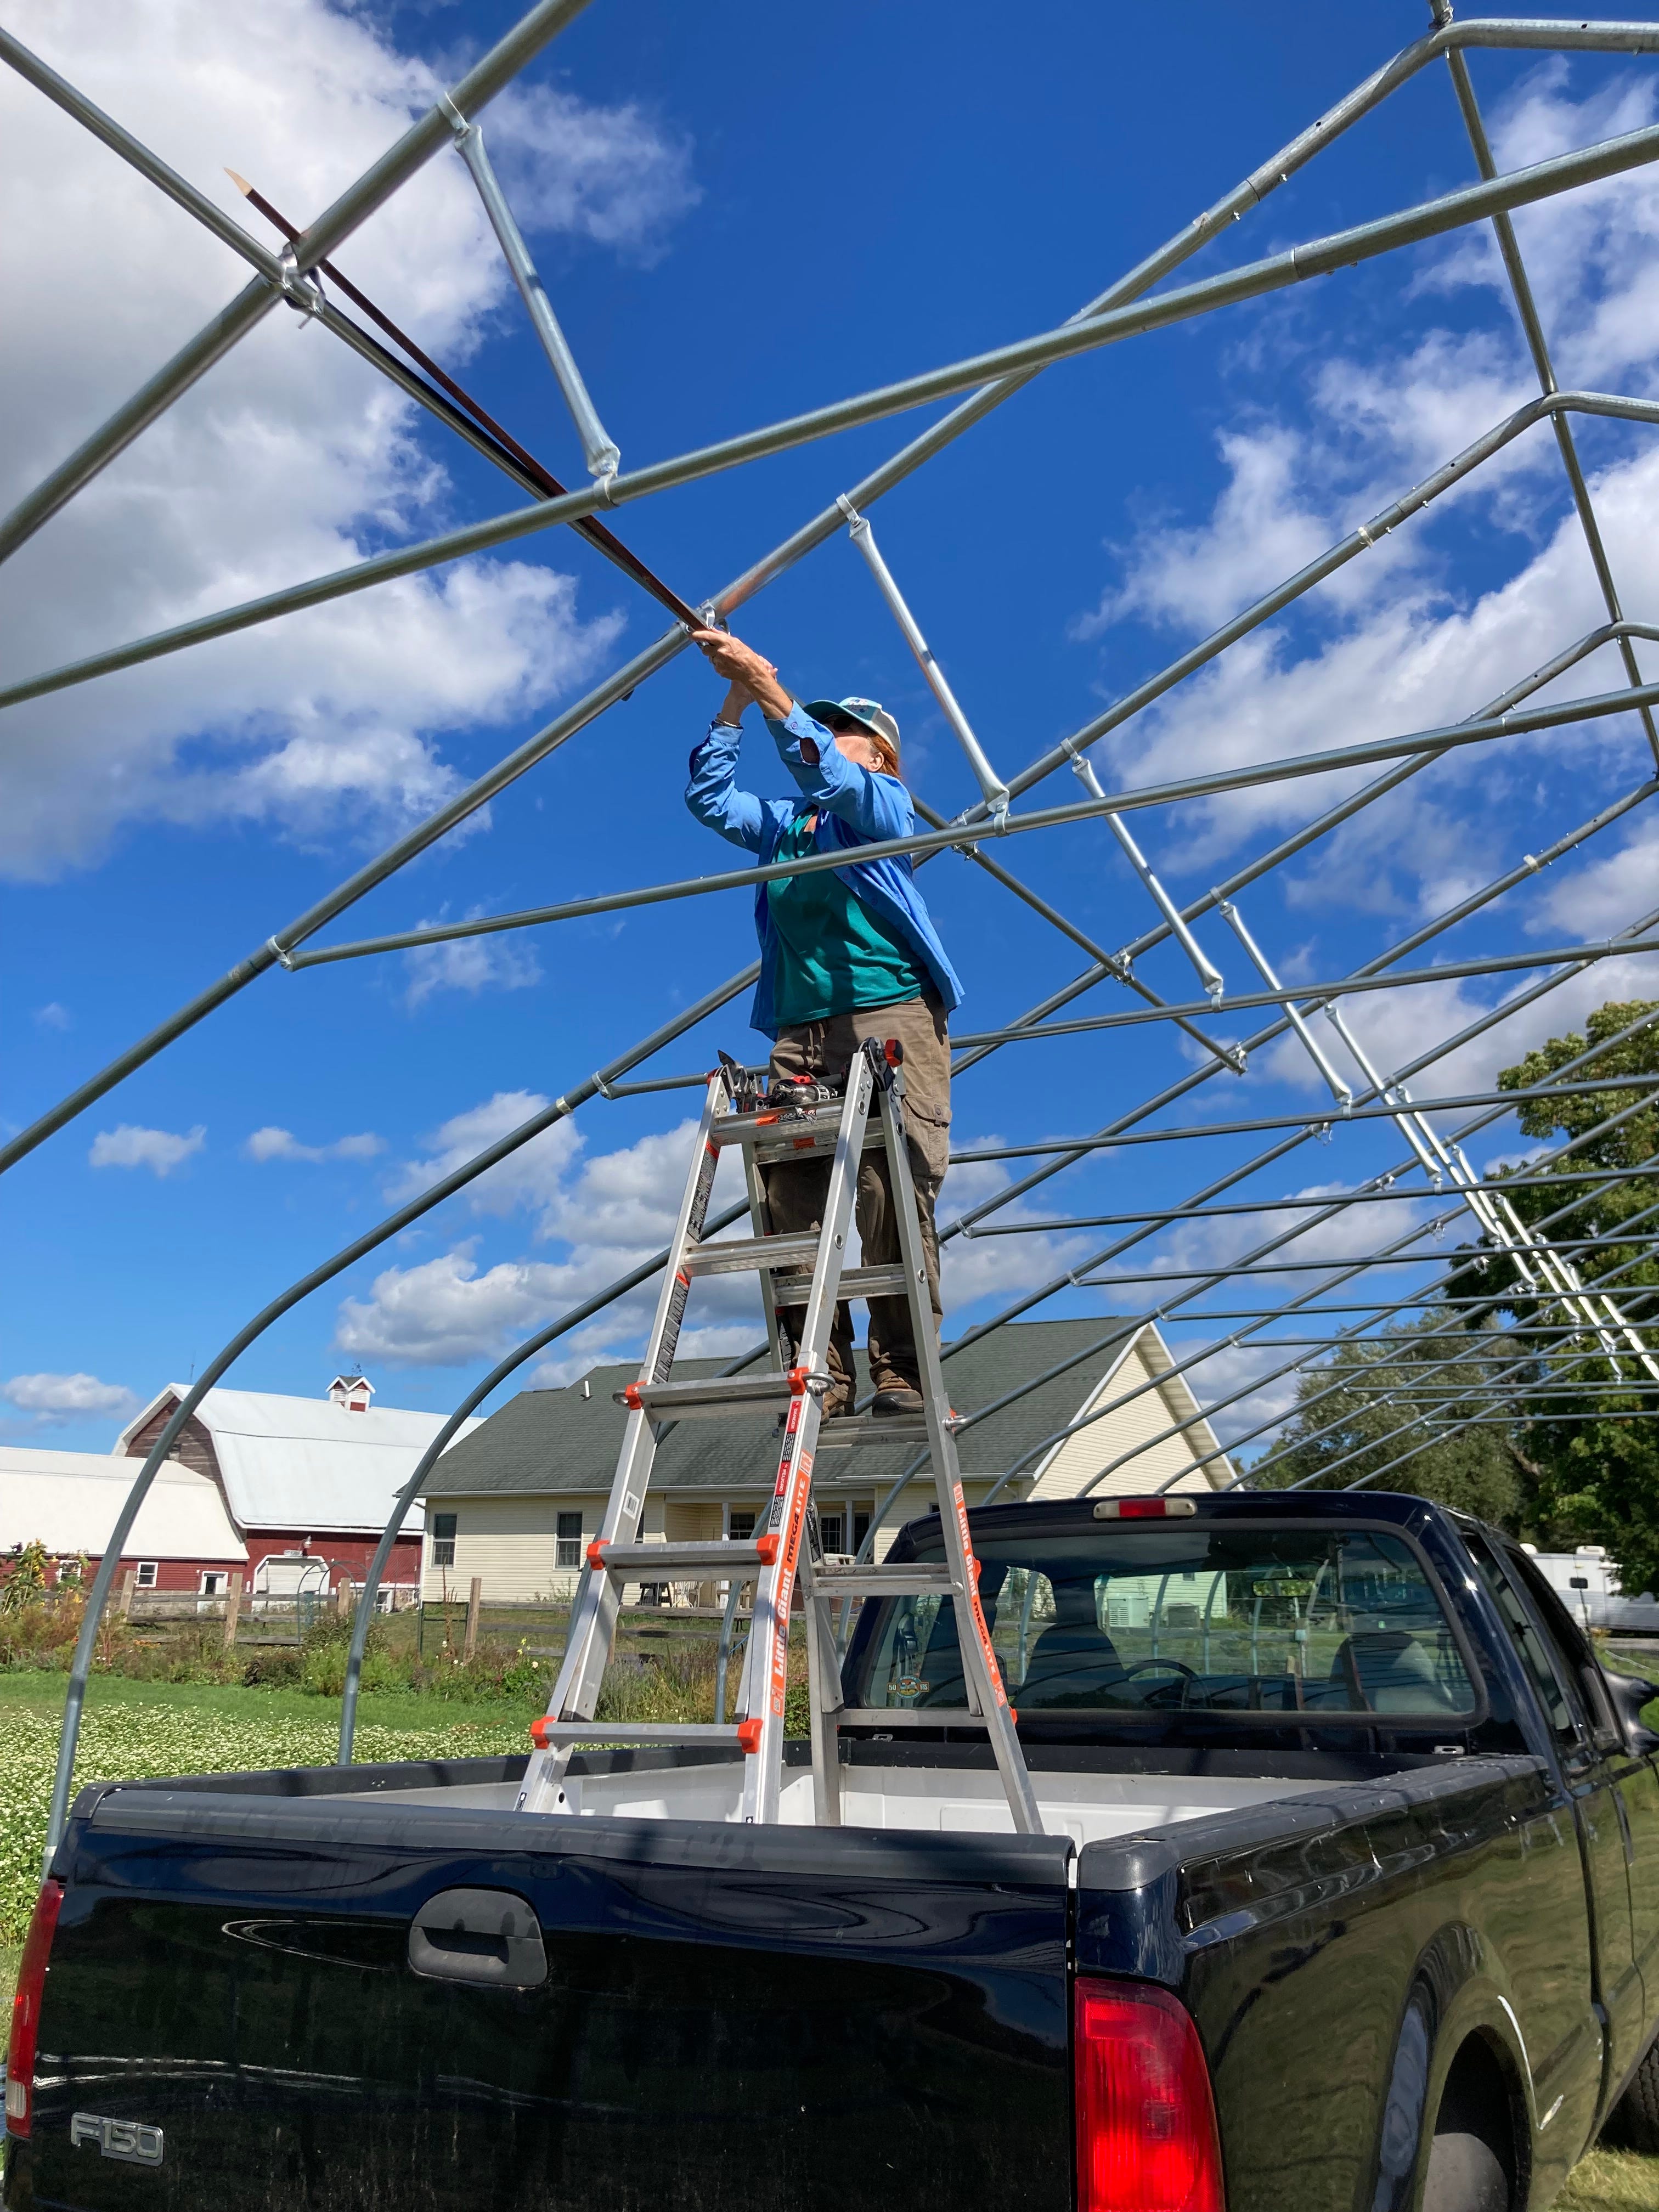
My wife was queen of the high places. The trusses were assembled on the ground, lifted into place by tractor loader, and then screwed together with the purlins. That top purlin is 14’ high. Be careful.
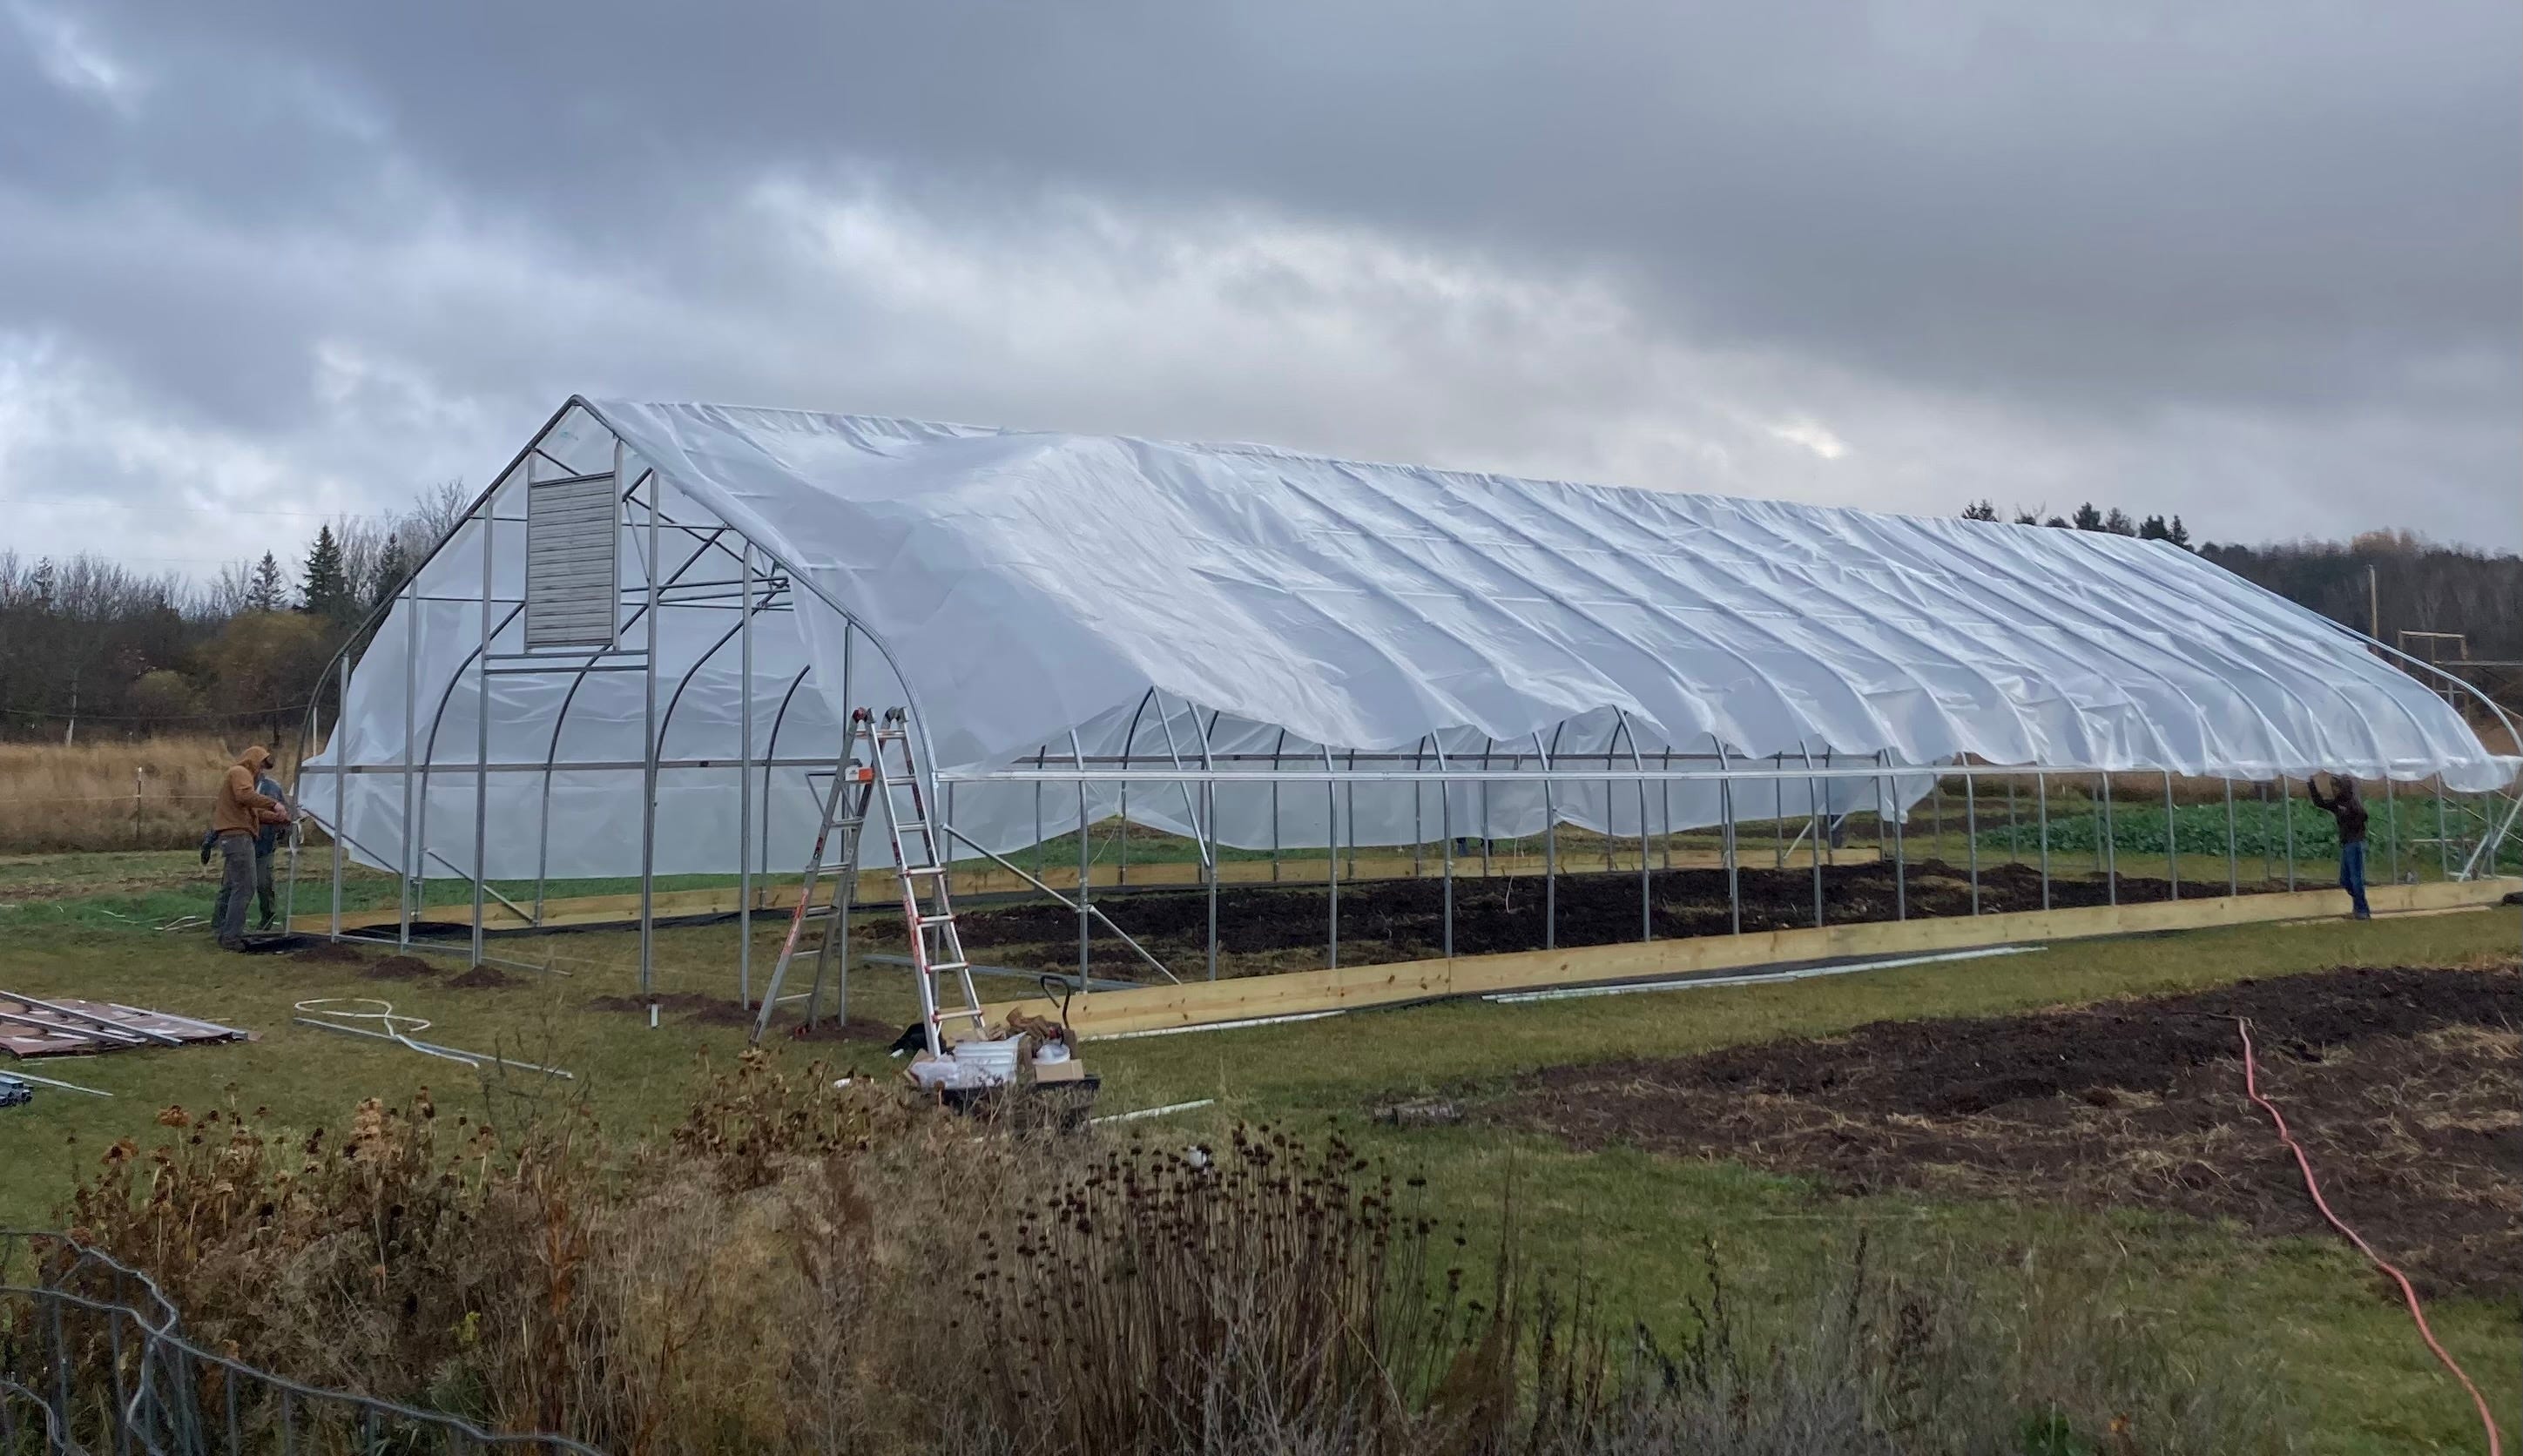
Bird’s eye view. I subsoiled, manured, and tilled the indoor garden before I put the endwalls on. Might as well take advantage of the room to maneuver this one time.
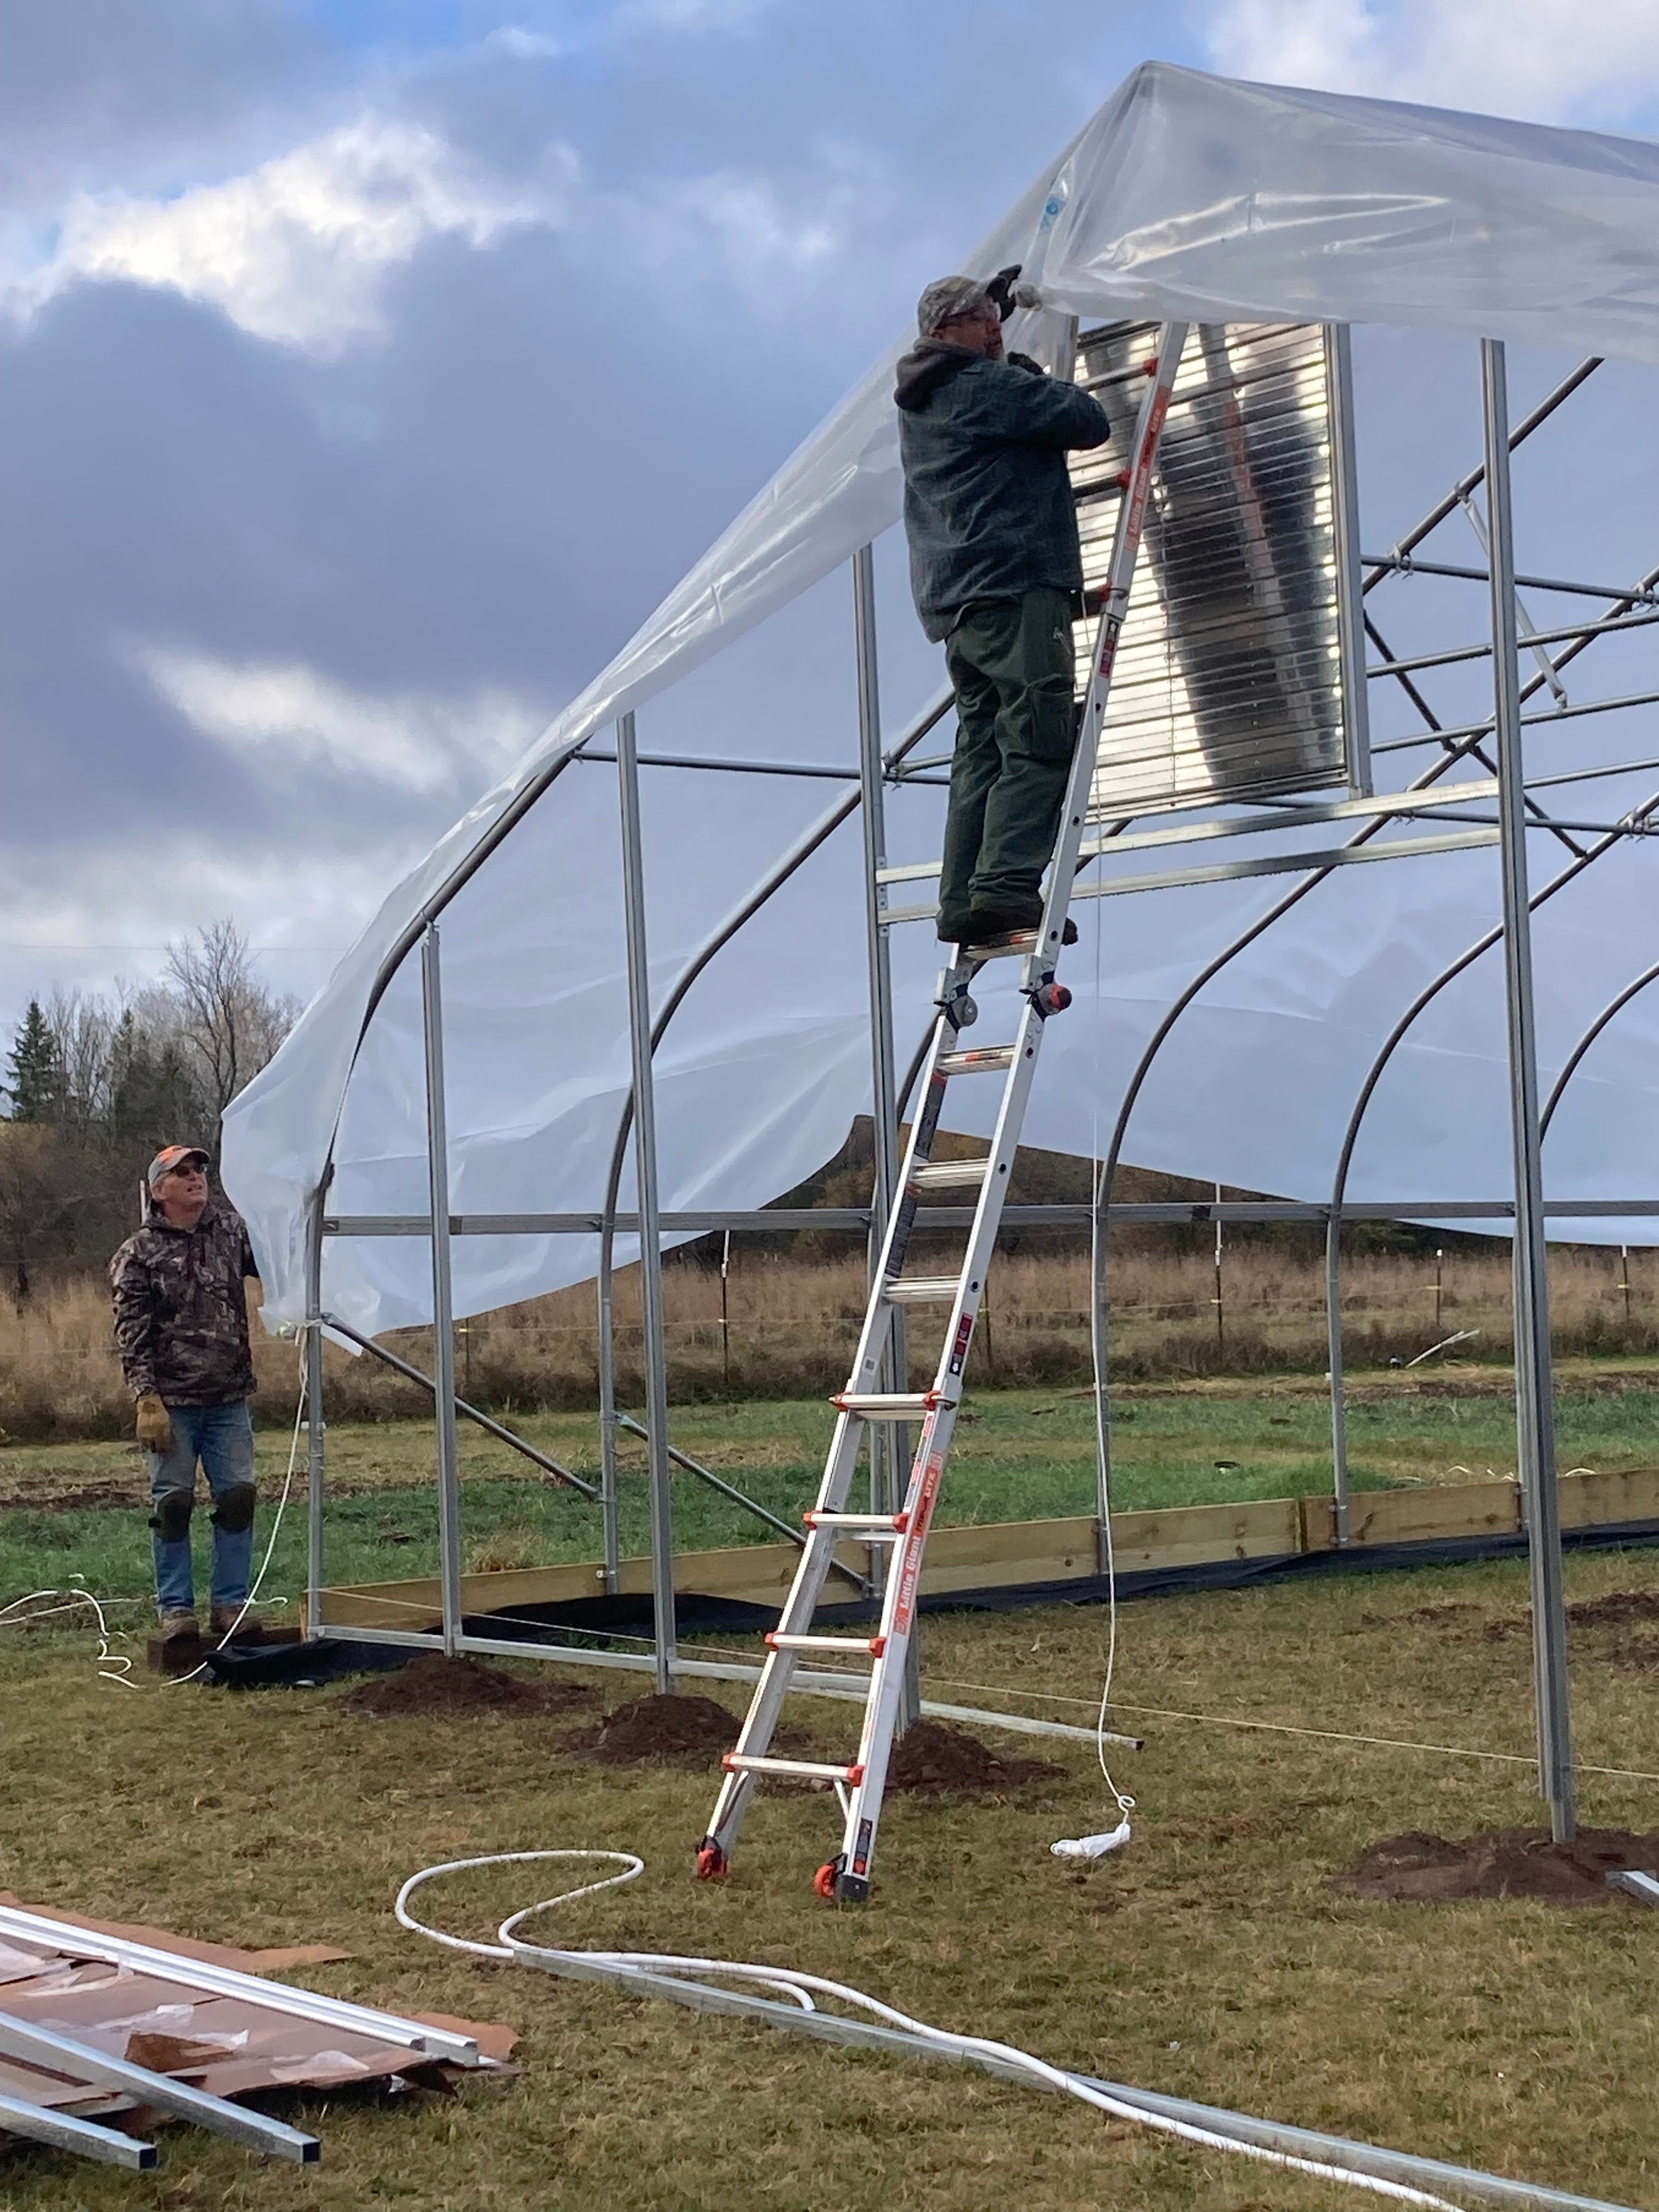
With the frame up, the next step is pulling the plastic. Wrap the plastic around tennis balls and tie a rope around them to attach to the plastic. Put a chunk of wood on the end of the rope to throw over the top. Then pull the plastic over.
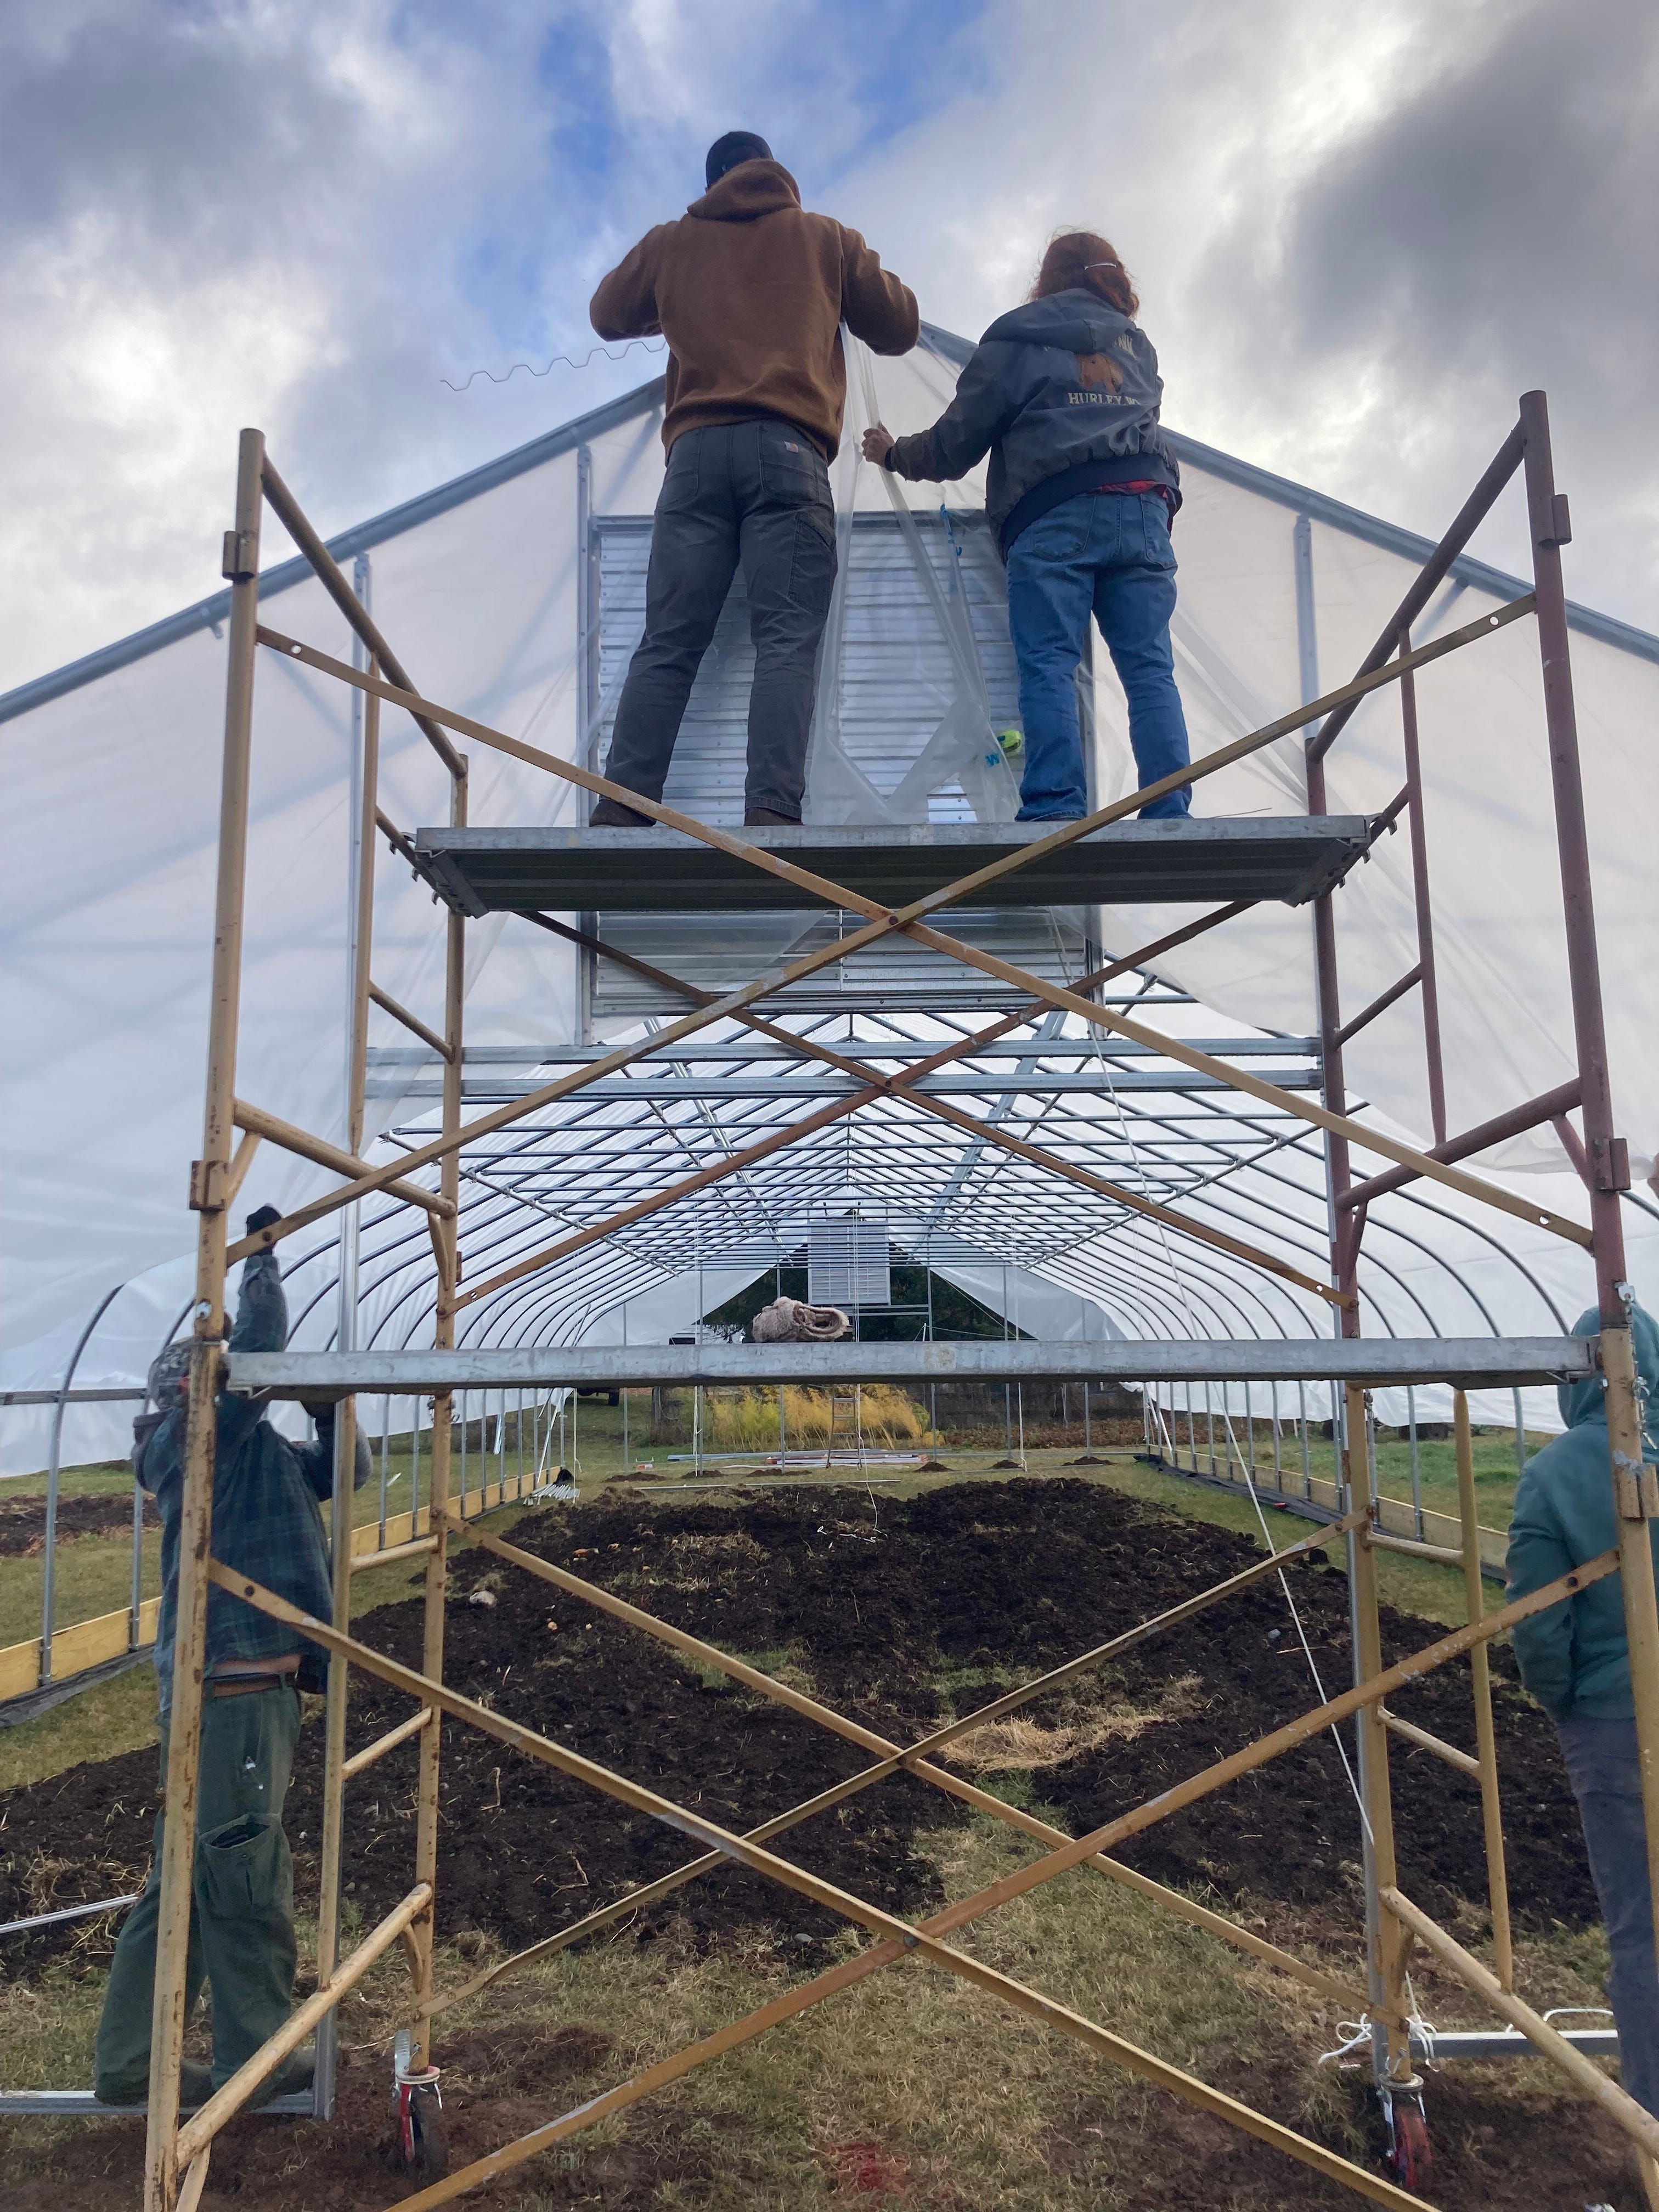
More proof of the value of scaffolding.
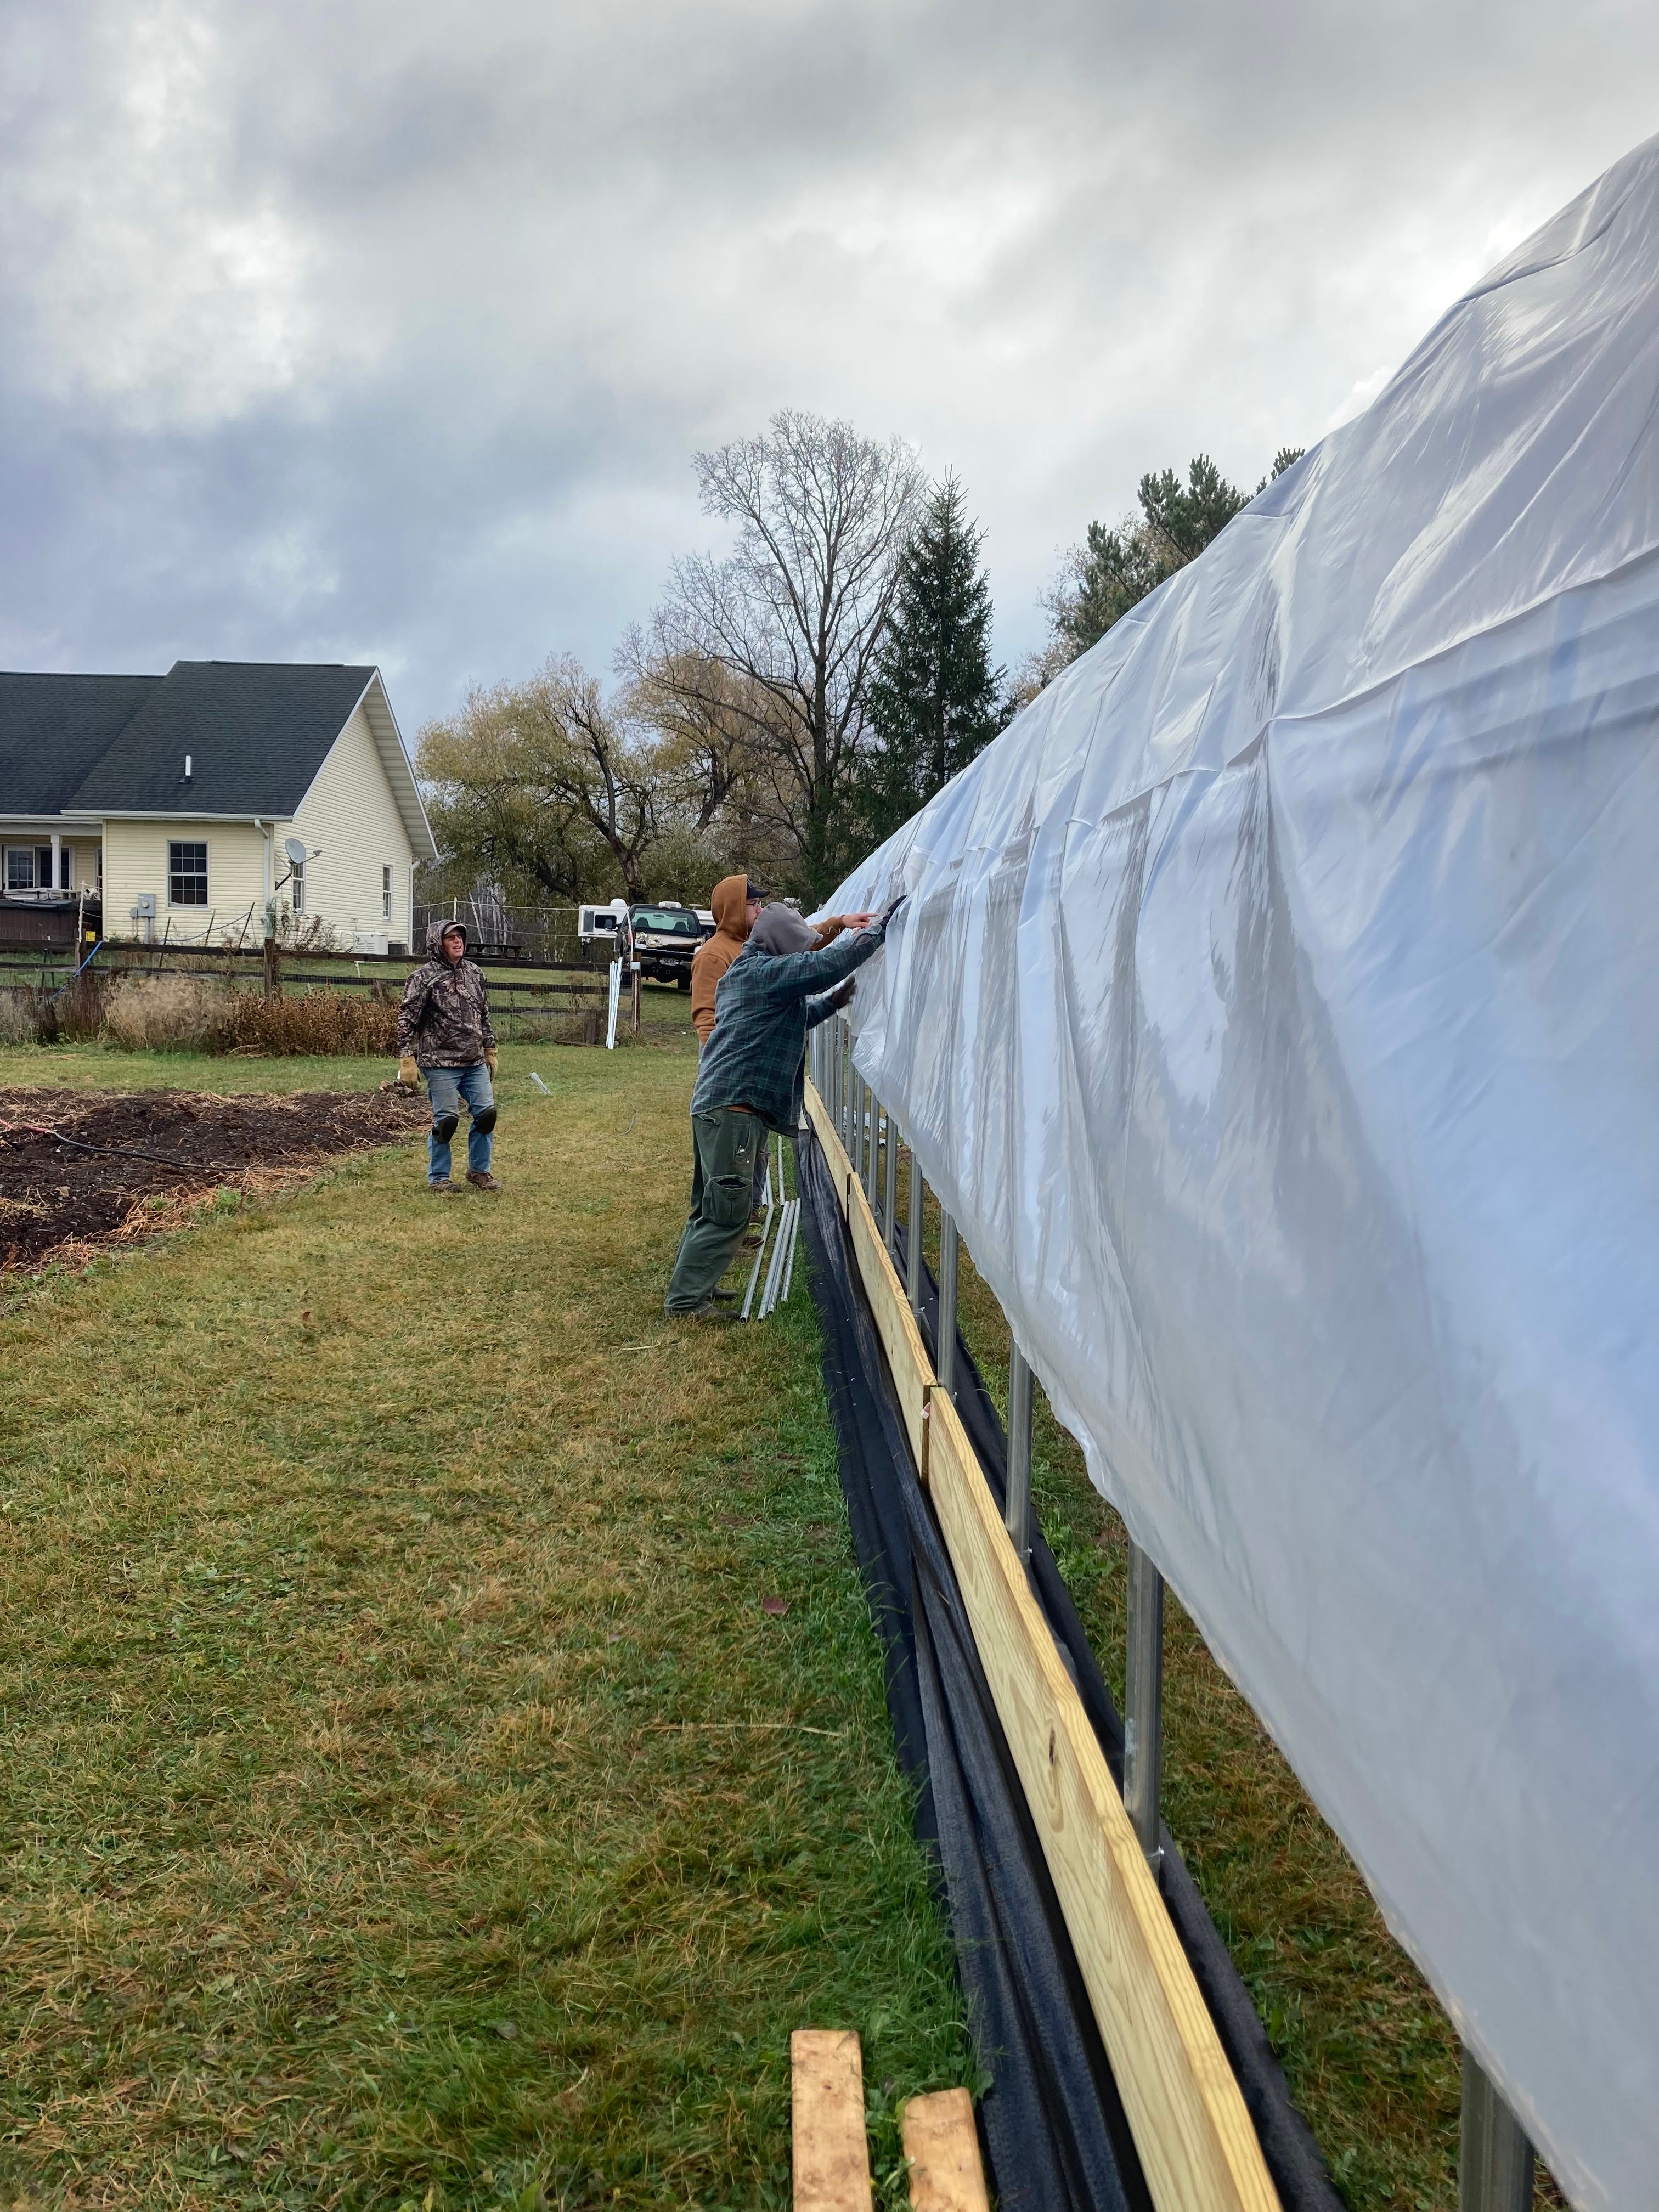
A crew of four to six and calm winds will really help to pull the plastic and fasten it down with wire lock. Ideal temperature is about 60 degrees. Too cold, and it’s stiff and brittle. Too hot, and you can over-stretch it, allowing it to contract too tightly in the cold.
Plastic giving it final form.
Now it can snow.
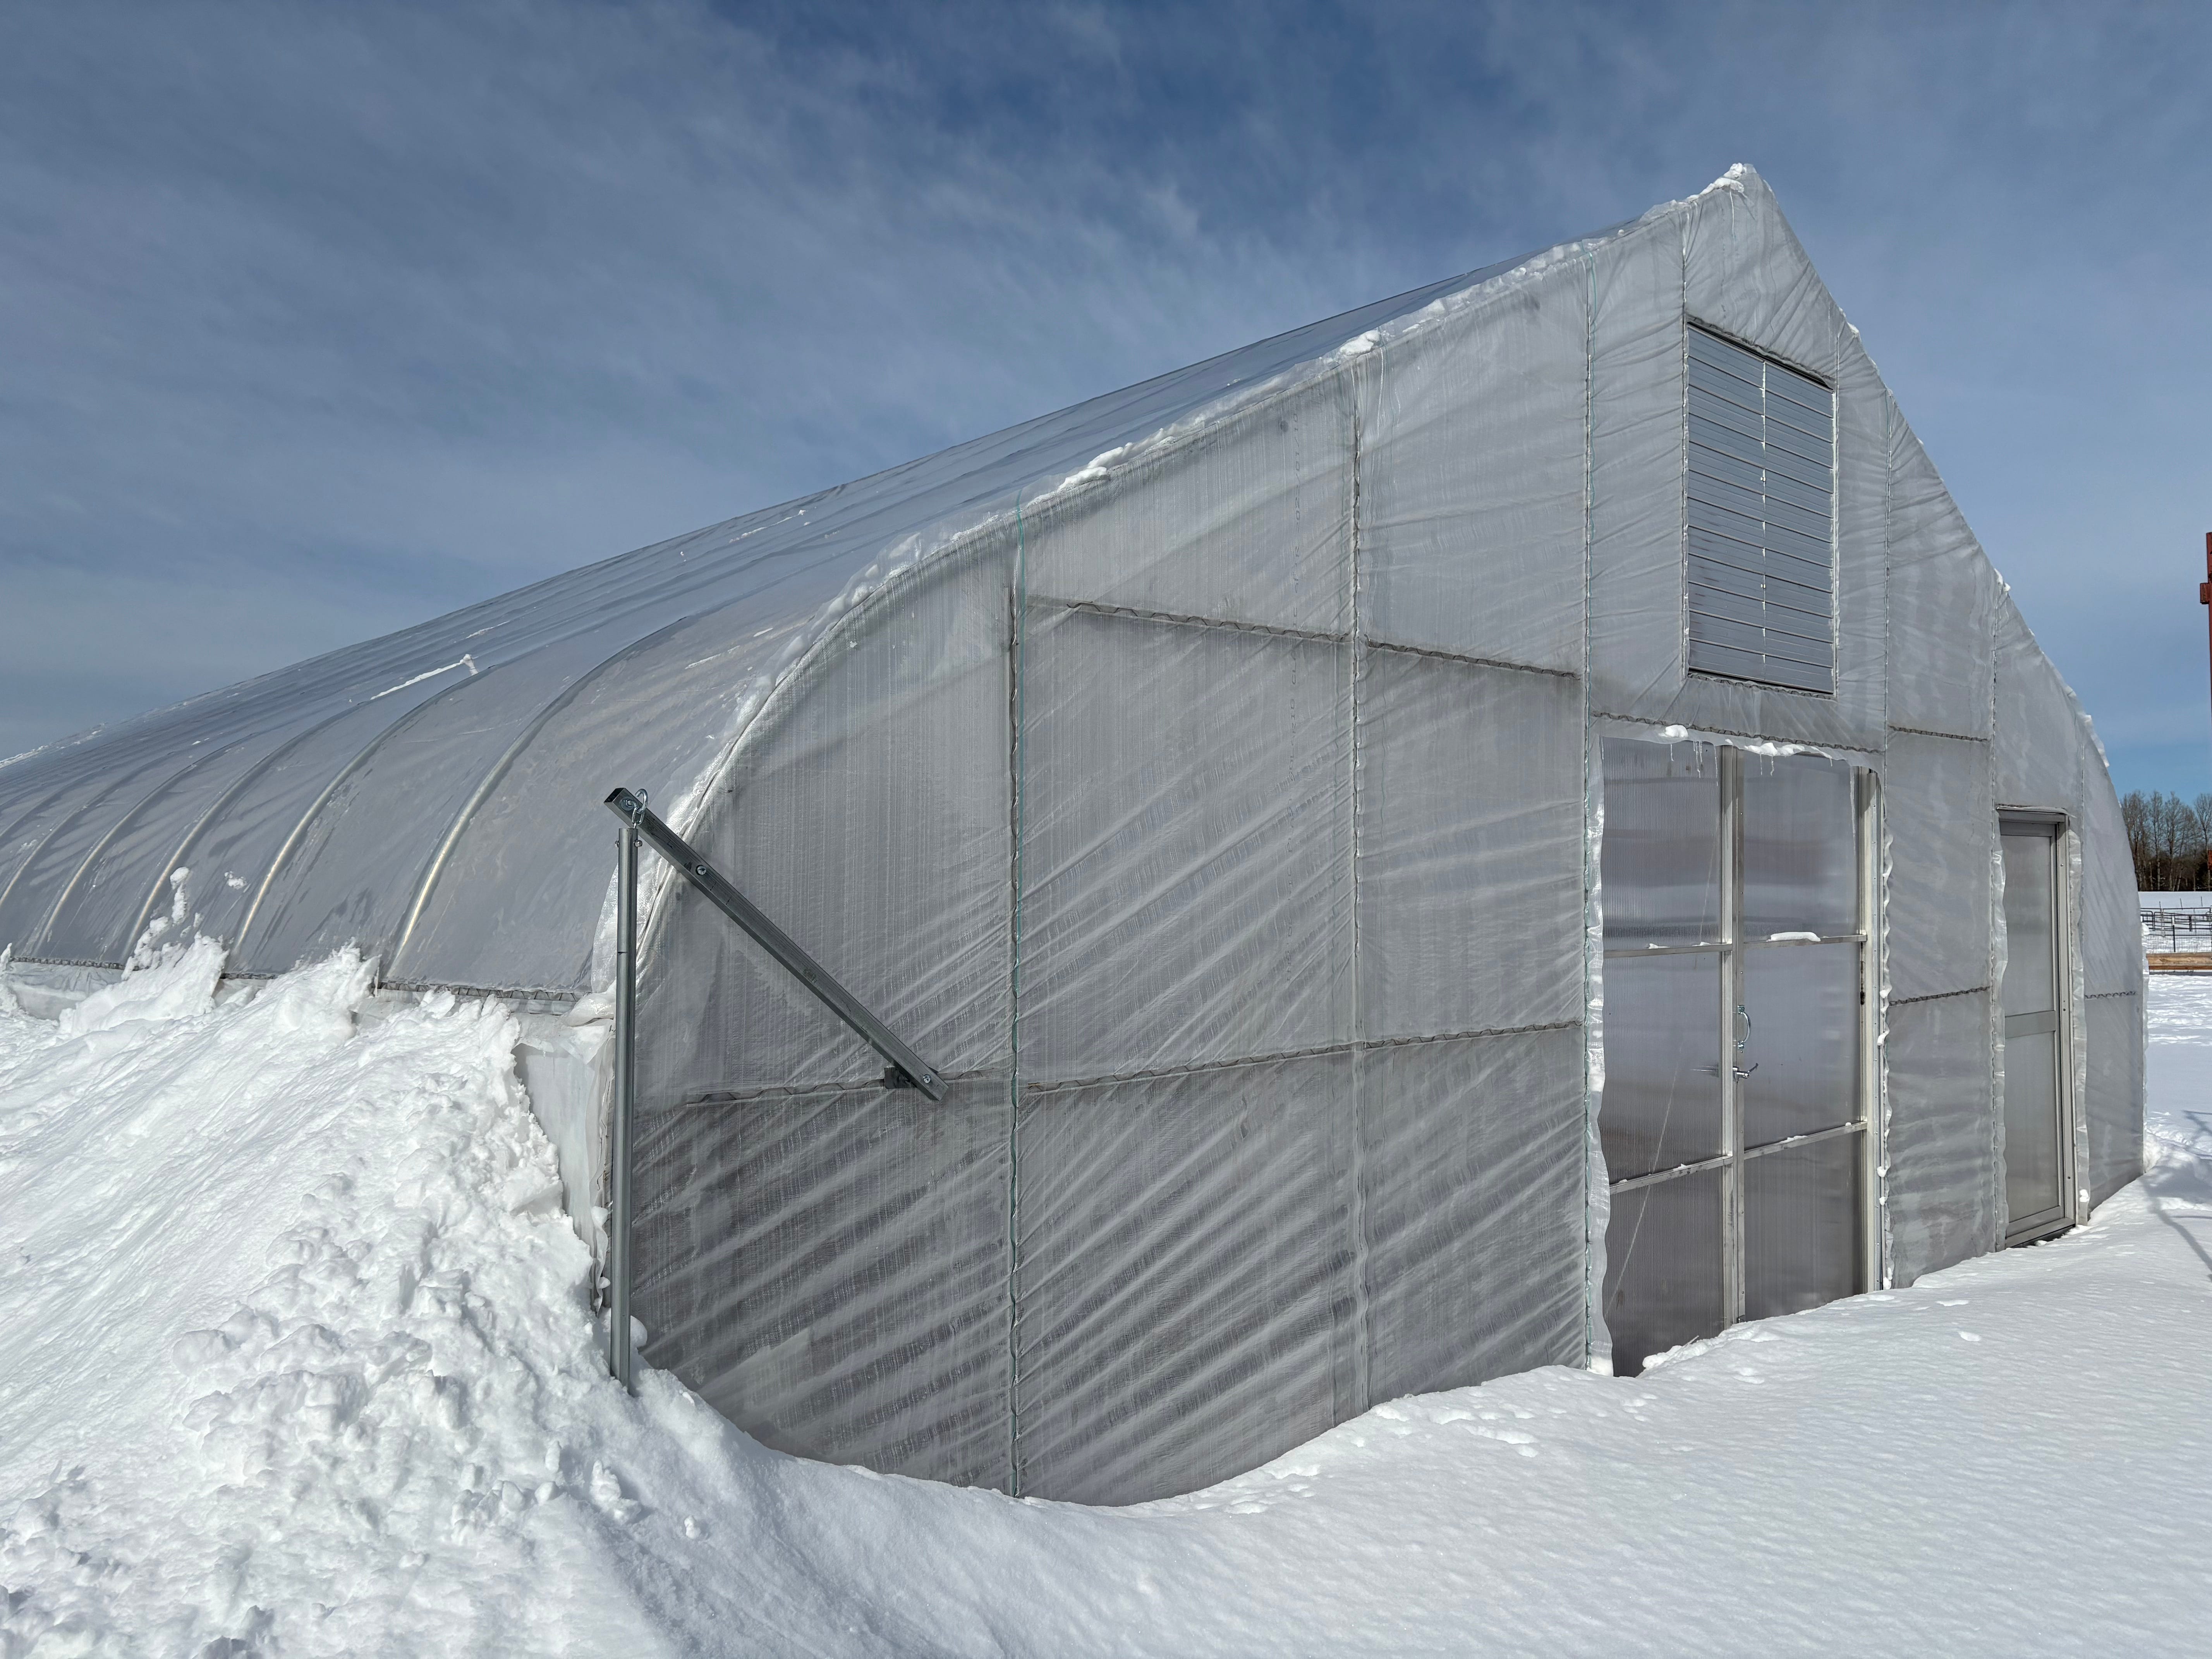
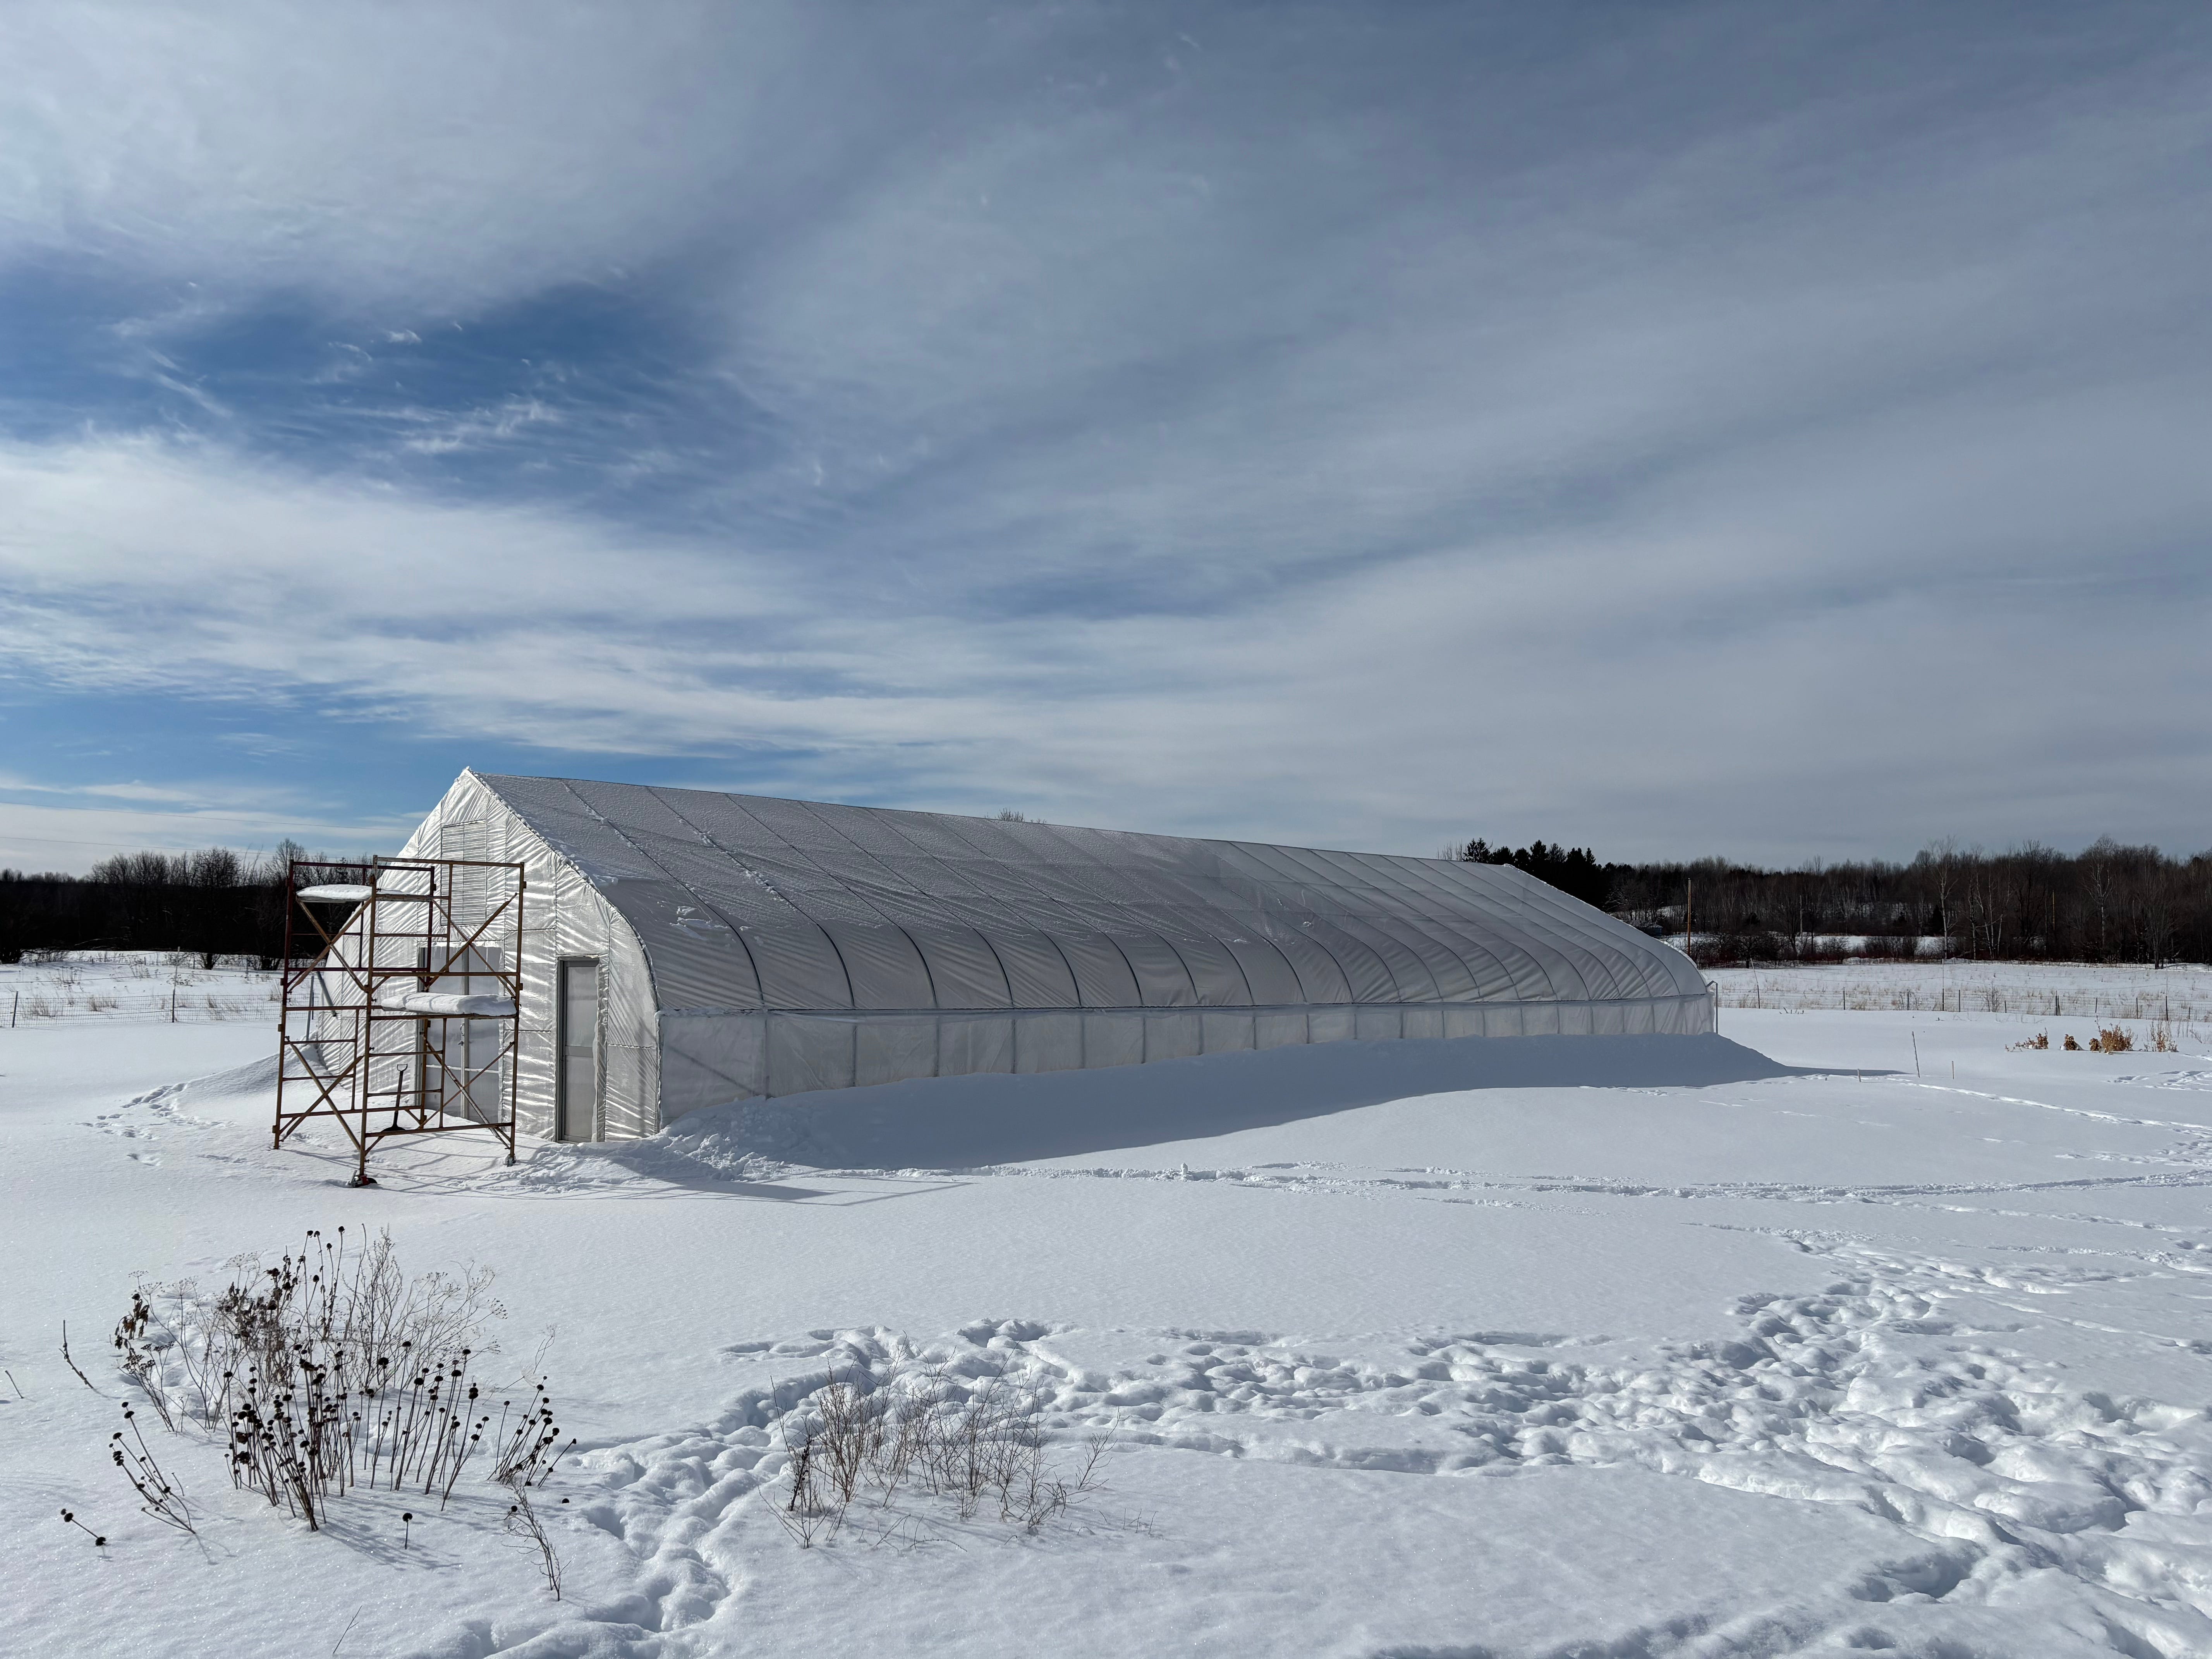
When the snow gets deeper, I’ll have to blow it away from the sides. Snow sliding off the roof has to have somewhere to go.
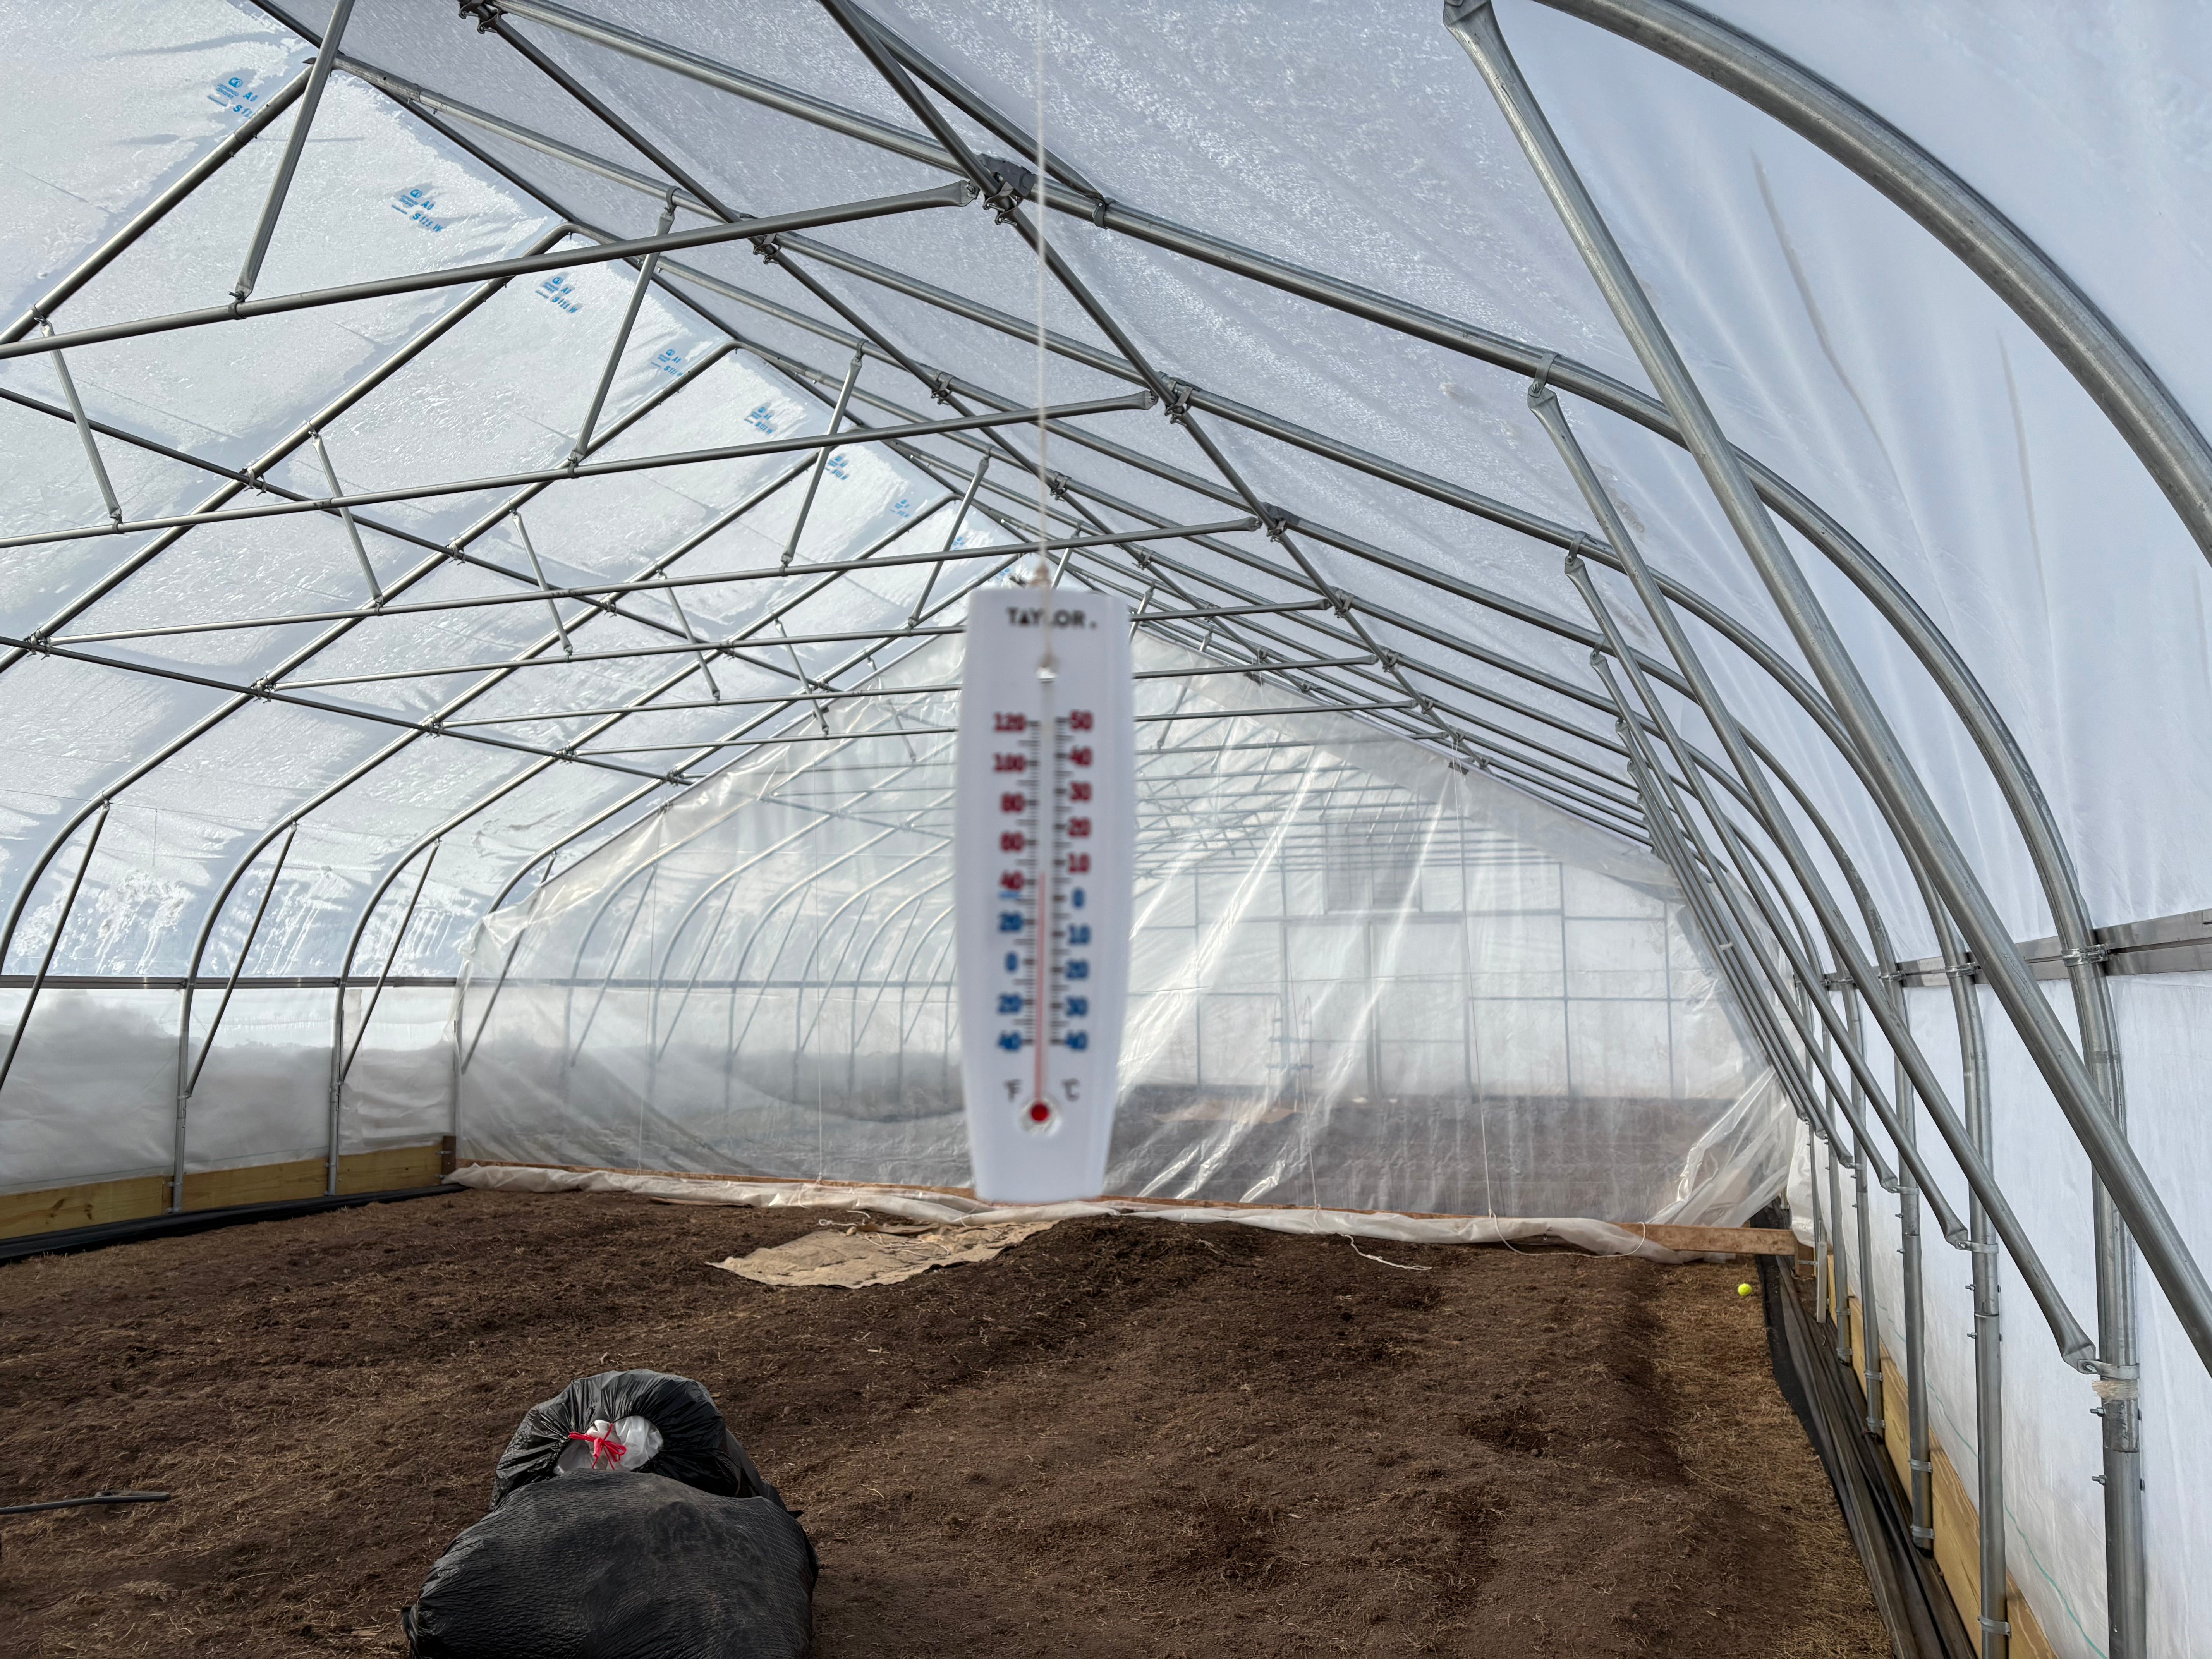
Even with a weak January sun, it’s 30 degrees warmer than outside.
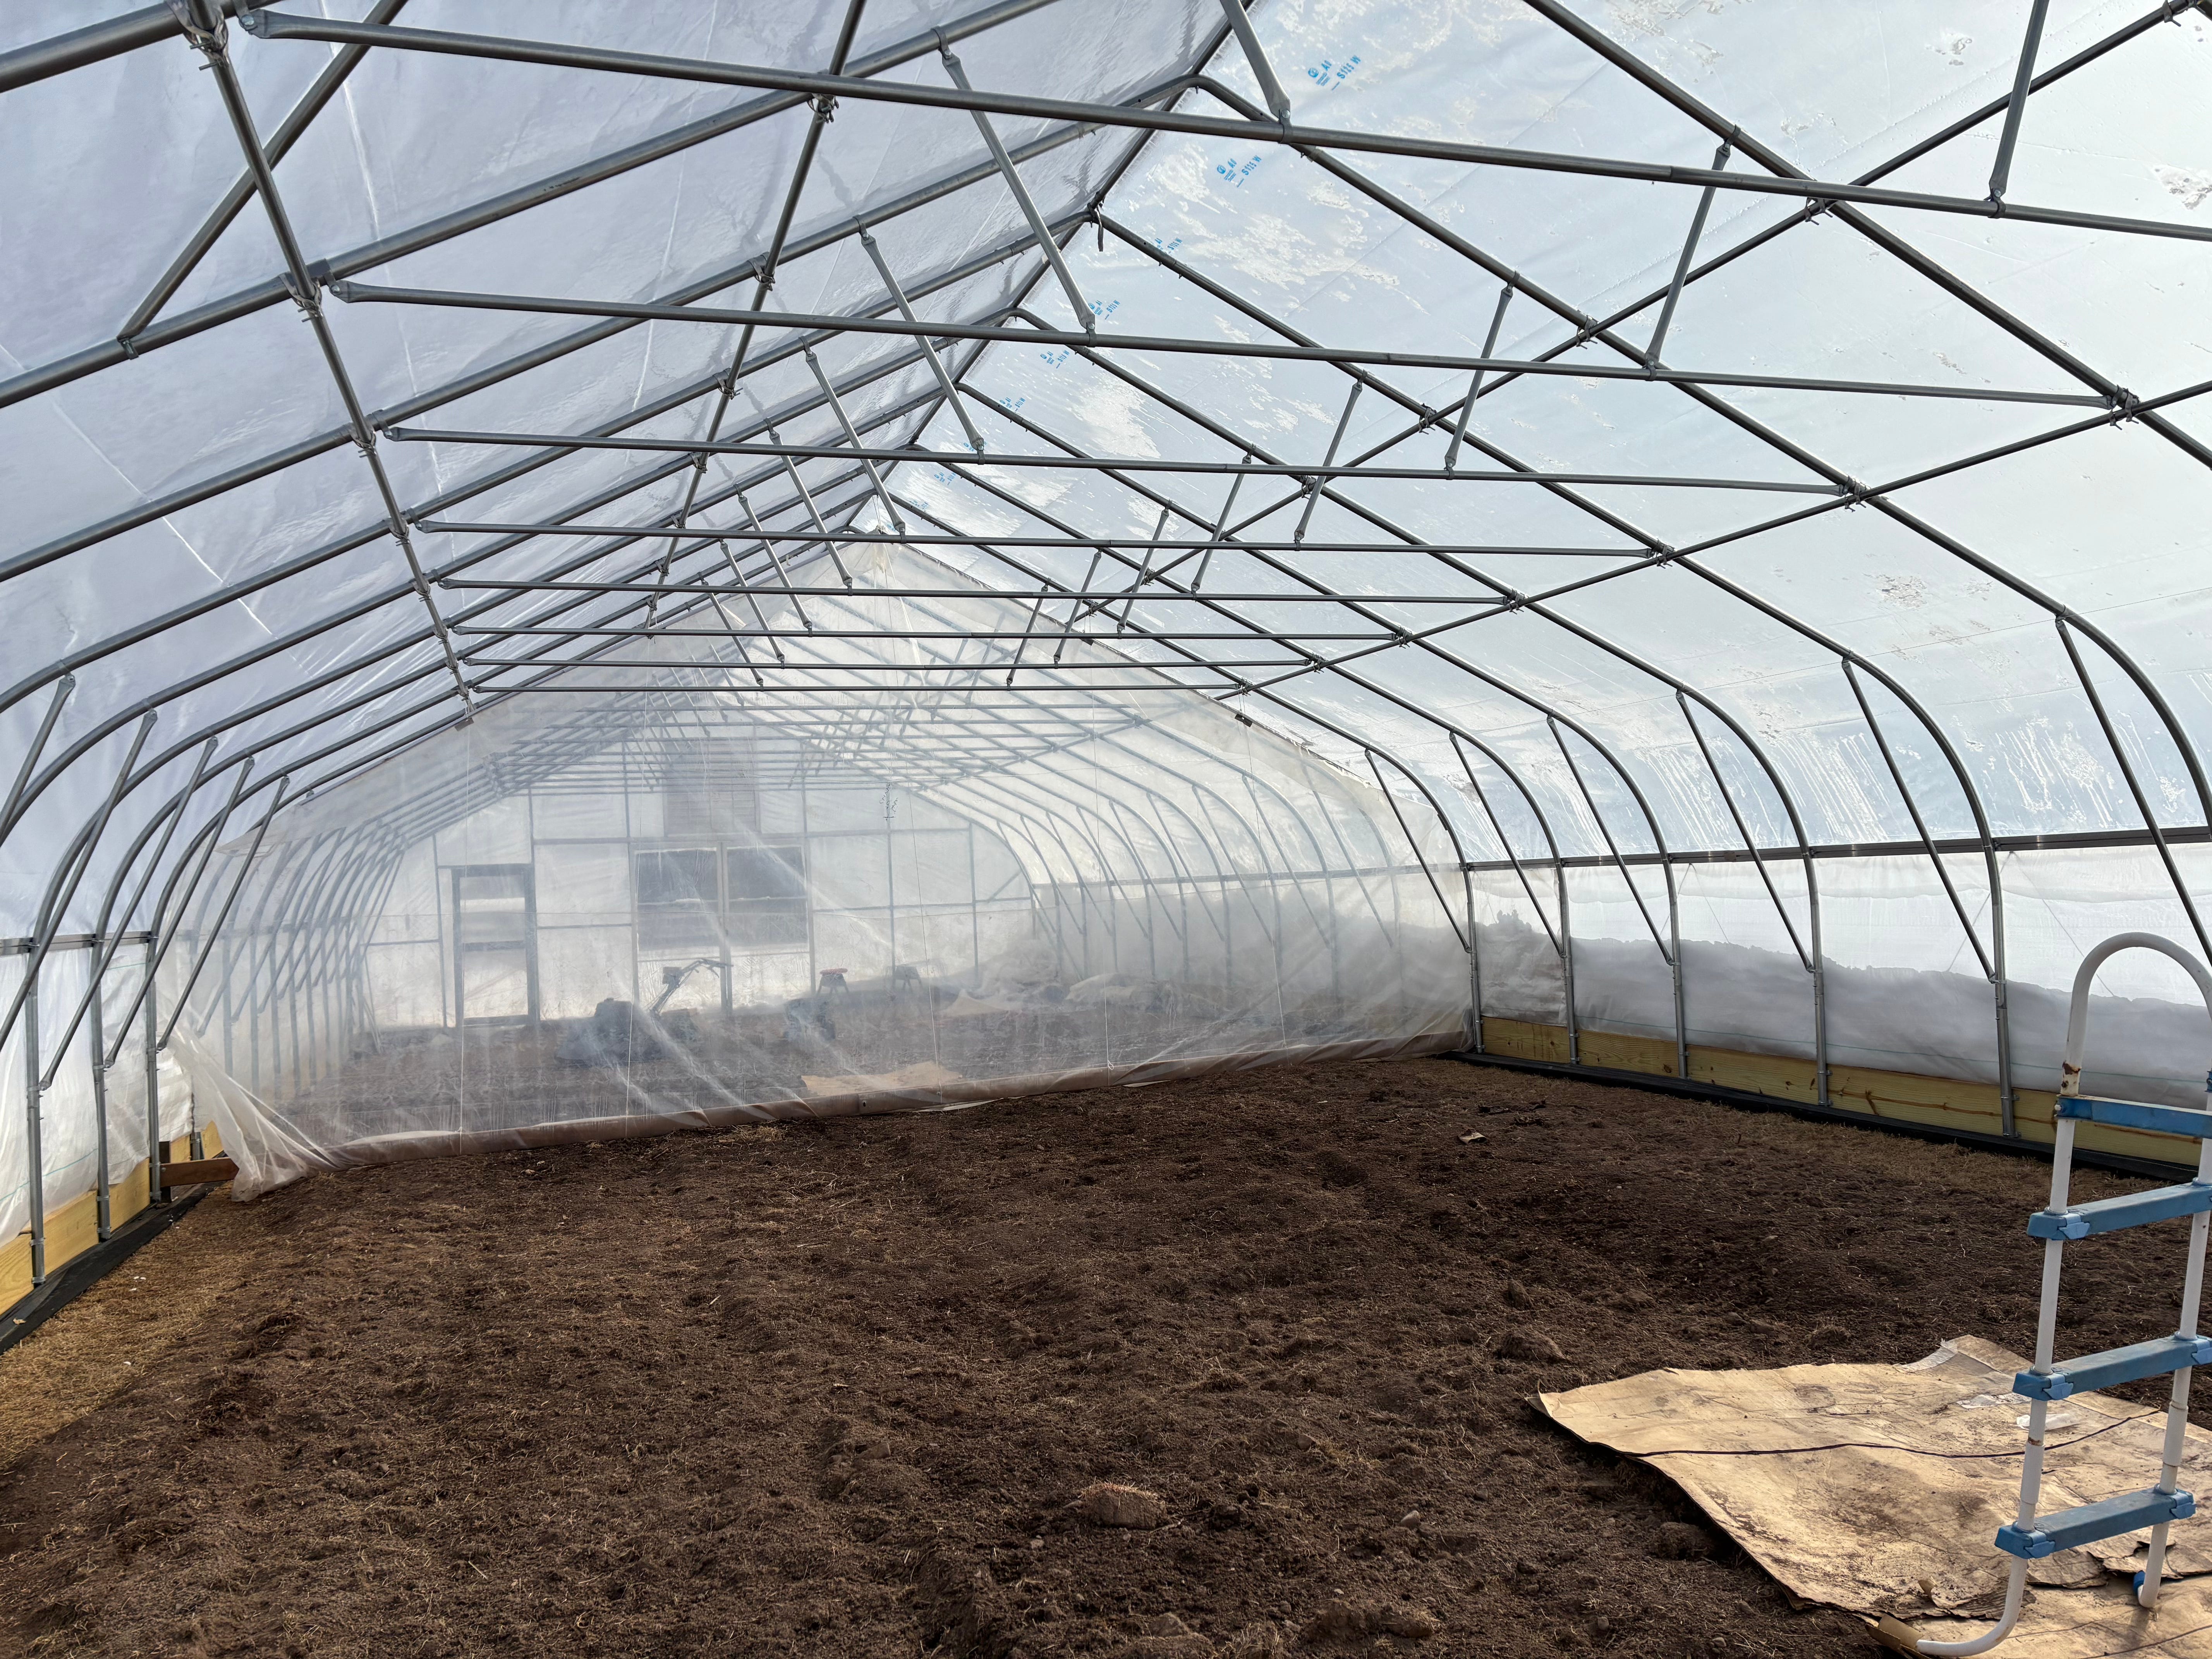
Final indoor space. Note partition halfway to create two distinct climatic zones.
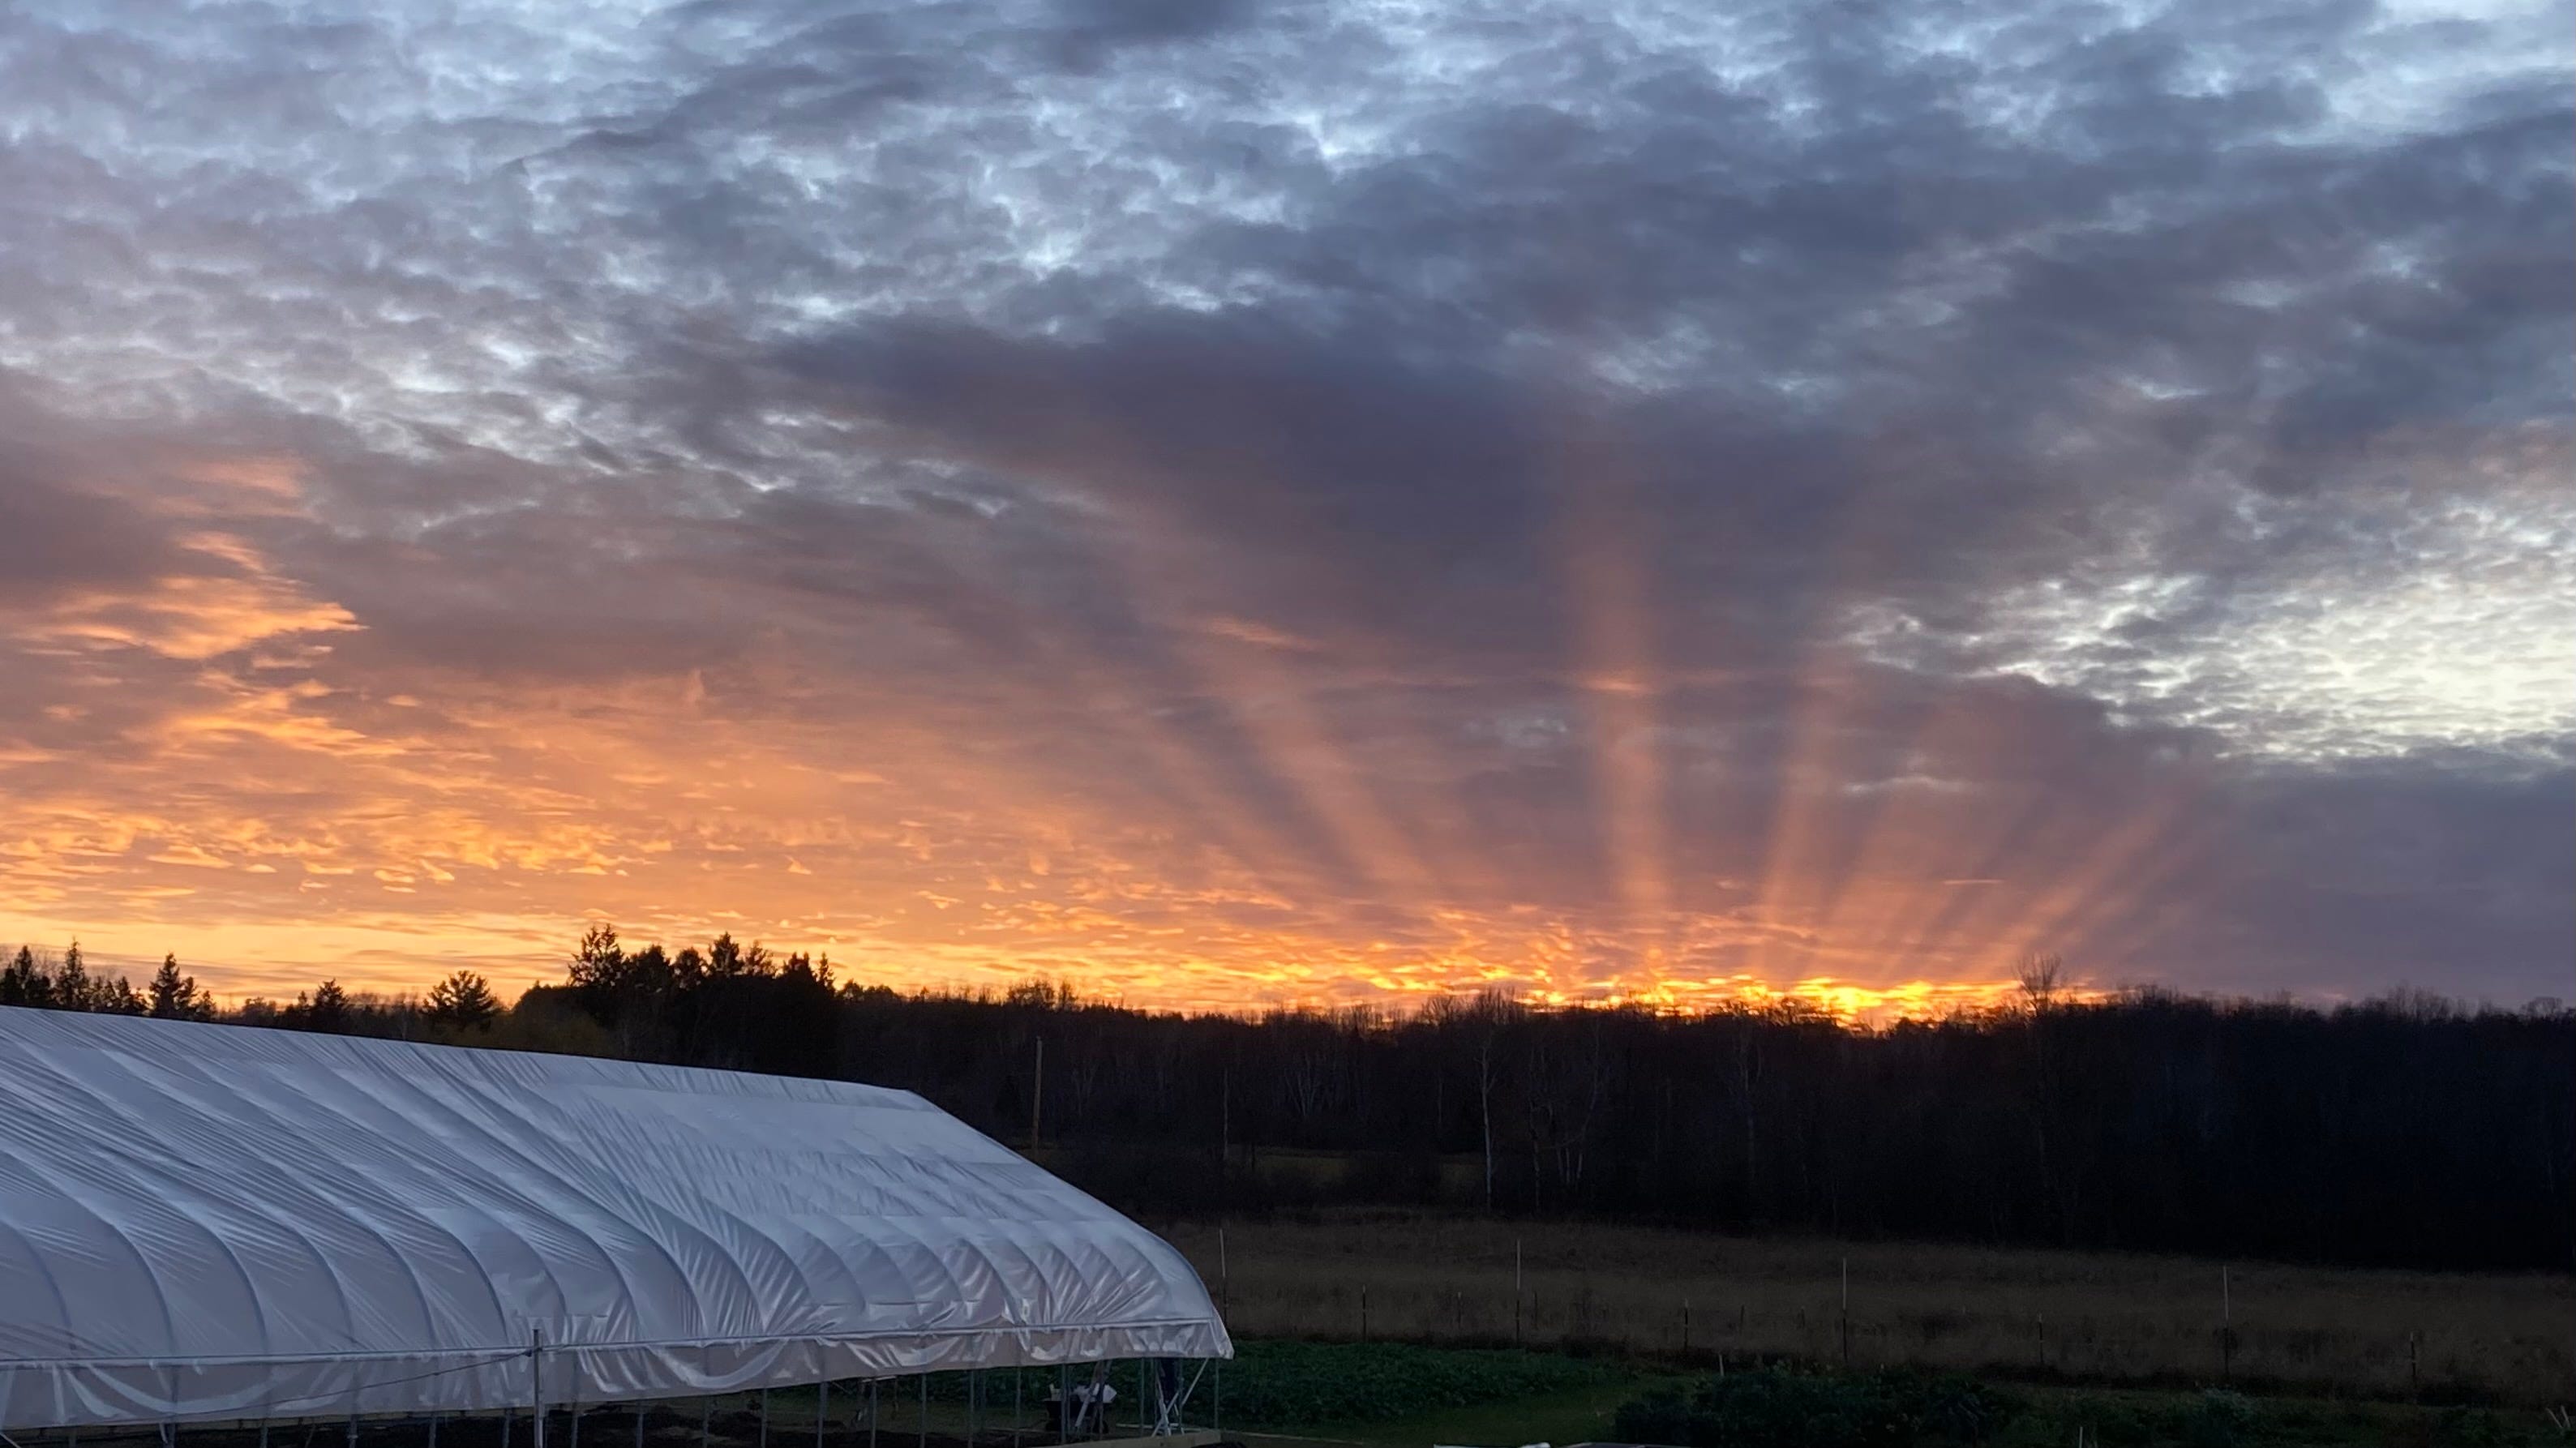
Hoop’s up. Sun’s down.